Watercolor Tree Art Lesson
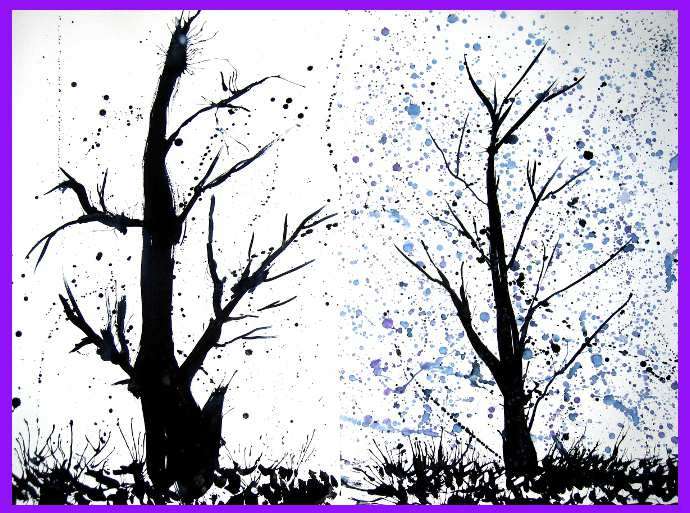

Children often pick-up on exactly what we are not trying to teach them. If children hear a picture being praised for neatness, or for showing something realistically, some children will decide that their own picture isn't "good," or that they aren't "good" at art. The next time they are faced with an empty sheet of paper, they will freeze up--and part of their voice will be lost.
Remind your children that art is play....It's okay to move the paper around... or to move around the paper.
We painted this exercise outside on a breezy day, so that we could be as messy as we wanted. The leaves shaking on their branches cast shadows on our table. You can see the shadow patterns in the photographs below. Our favorite dead tree was nearby for inspiration.
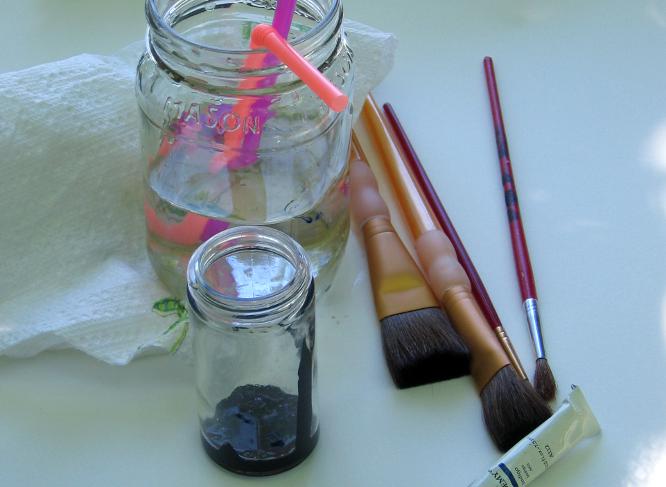

What you will need :
Watercolor paper (see our recommended supplies page). We always try to use larger sheets, but smaller sheets would work as well.
Watercolor in tubes or in pans (such as Crayola). We used Grumbacher student grade watercolor.
Payne's Gray is a dark bluish black which was perfect for our tree silhouettes.1 inch and 2 inch craft brushes along with smaller brushes for branches
Three water cups: one for rinsing brushes, one for clean water to add to the paint, one to hold the condensed paint from the tube.
Drinking Straws....one for each child
Paper towels to clean up
Plants to experiment with, if desired
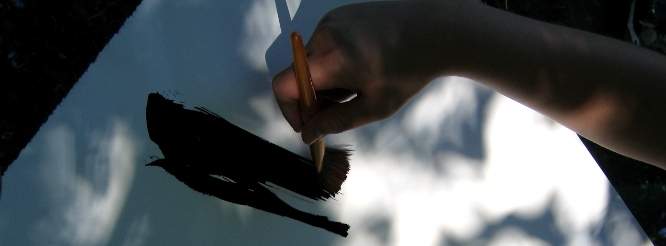

Squeeze out an inch or two of the paint into a cup or jar. Mix in water, a little at a time. You want the paint to be dark enough to leave dark marks, but liquid enough to move when you blow on it through a straw.
Start painting the main tree trunk "upside-down." Paint the bottom of the trunk close to the top of the watercolor sheet. Pull the brush towards you. Keep plenty of paint on the brush as you work. Lift and turn the brush so that the tree trunk becomes thinner as it moves toward the bottom of the sheet.
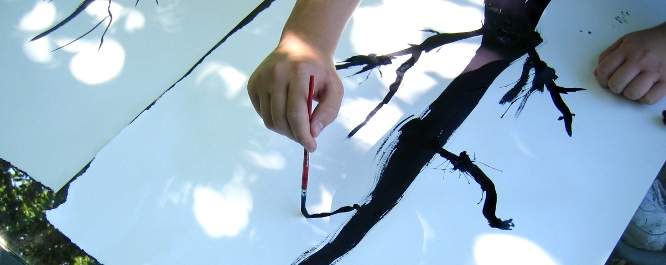

Now turn the sheet around so that the picture is right side up. Use a smaller brush to add branches. To make your branches narrow at the ends, slowly lift up your brush as you paint towards the tips.
Branches are rarely straight, so it's okay if your branches come out crooked.
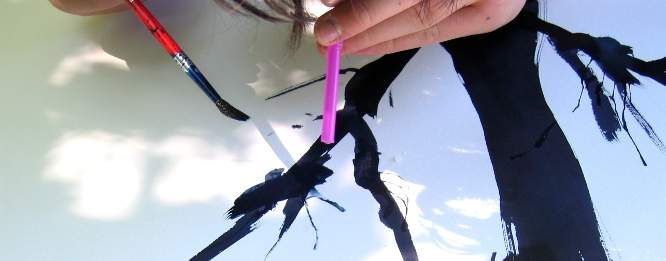

You can paint twigs by blowing through a straw. Everybody should have their own straw to use, so that they don't share germs. Use a brush to drop paint onto a branch where you would like twigs. Quickly blow through the straw to push out the wet paint in tiny streams. Try blowing the paint at different angles.
Just remember to blow air out of the straw....don't slurp paint up into your mouth!
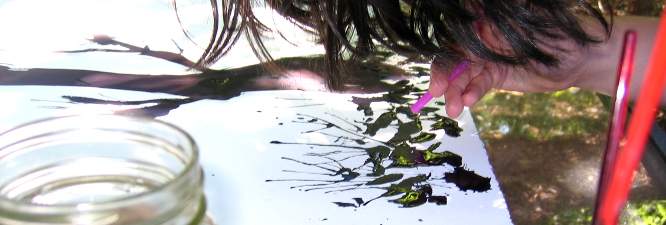

Drop wet paint along the bottom edge of the paper. Blow the paint upwards to make grass. Keep the paint wet: in the picture above, you can see green leaves reflecting off of the wet paint.
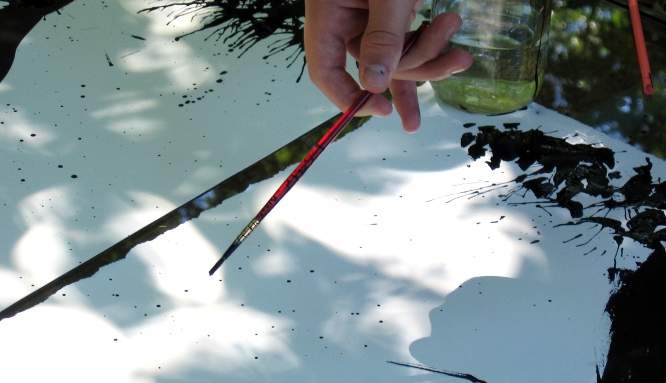

After we finished the tree and the grass, we used a brush to flick drops of paint onto the background. The splatters reminded us of stars in the sky.
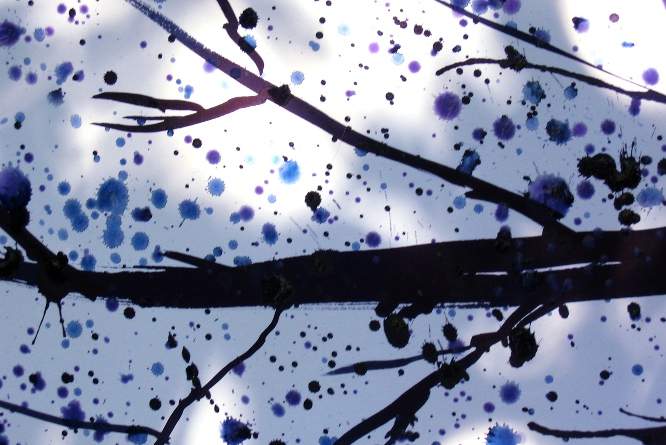

On one of our paintings, we also flicked blue and purple drops onto the white space.
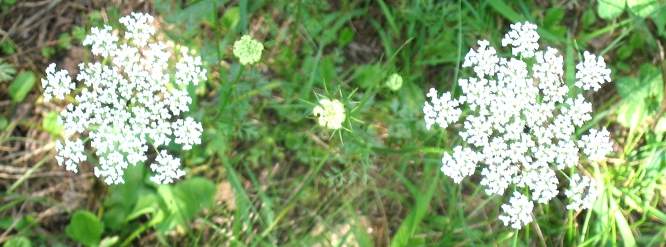

While we left our paintings to dry, we picked some leaves and flowers to see what shapes we could paint with them. We thought Queen Anne's Lace might make interesting patterns.
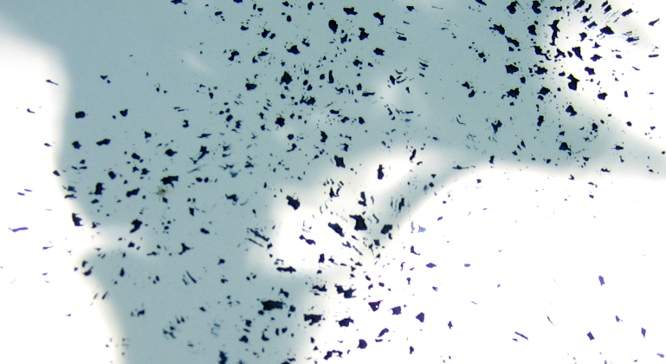

We dipped the flower heads into paint and pressed them against out paper.
The flower heads left circles of dots.
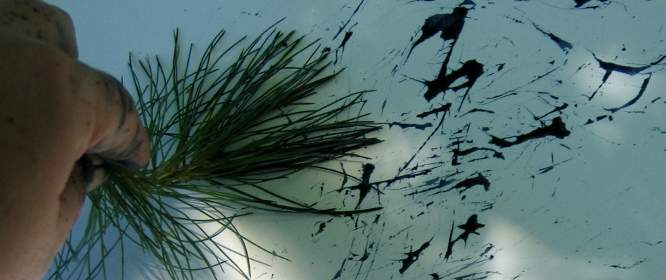

Pine needles left scratchy lines.
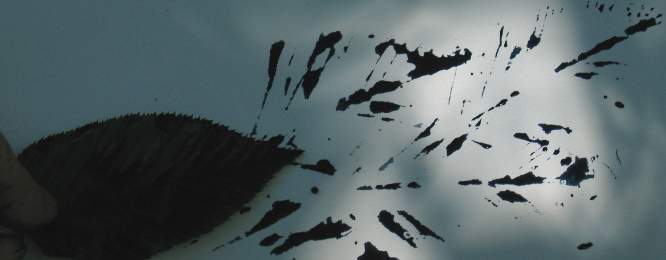

We overlapped leaf prints to make a pattern.


