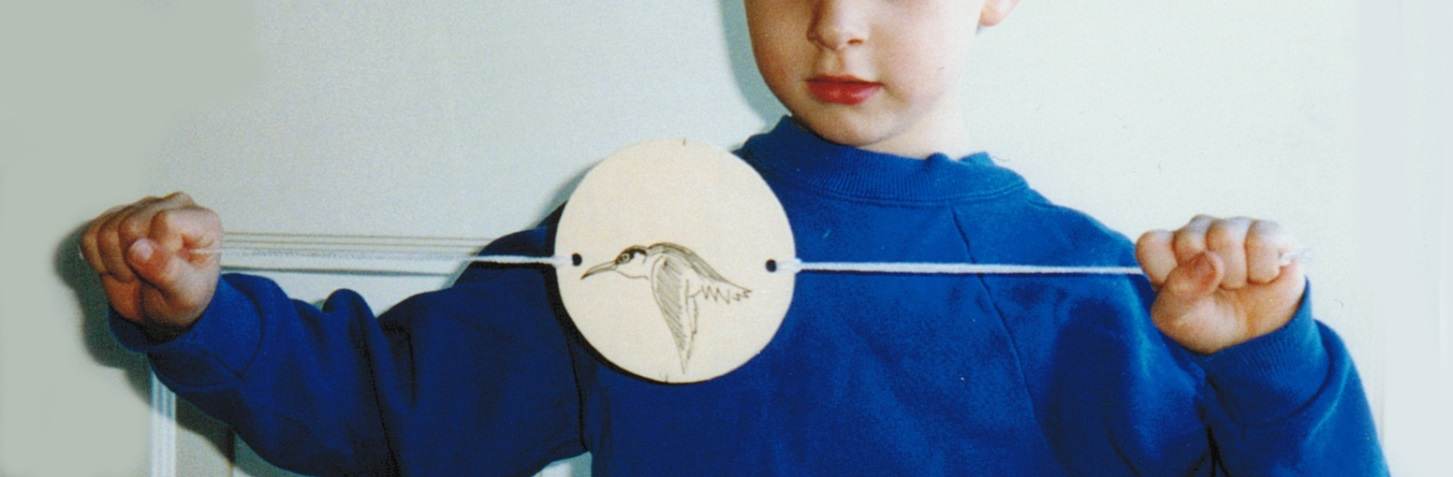
Hummingbird Spinner

This tutorial is adapted from my article originally published in the March 1999 edition of Today's Parent Magazine.
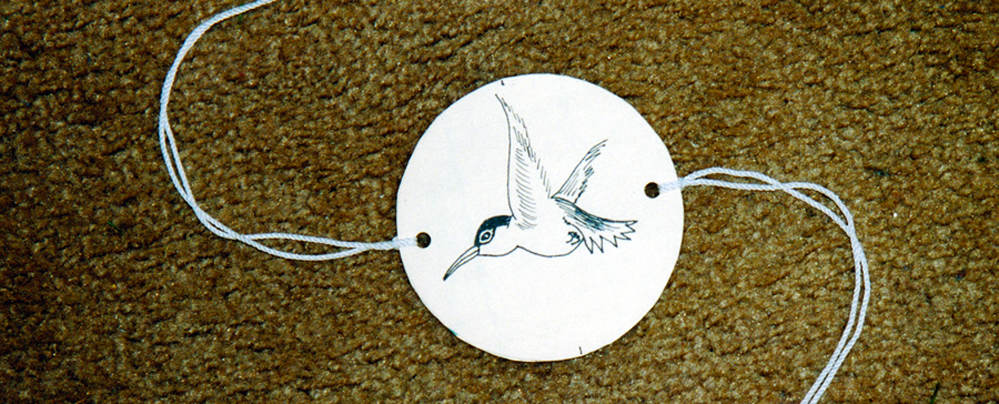
Spinners twirl so rapidly that the pictures on the opposite sides blur into a moving image. This spinner pattern shows a hummingbird in flight. If you like birds, you could also draw one with a woodpecker pecking a tree, or a mother bird feeding her young.
What you will need :
Hummingbird template printed on cardstock or regular computer paper
If your template is printed on regular computer paper, you will need an empty cereal box or a manila folder.
Scissors
String, cut into two 24" lengths
to color the hummingbirds.
Tape, if you are designing your own
How the Spinner Makes a Moving Image
For our spinner, the hummingbird has its wing up on one side, and down in the other. Otherwise, the two pictures are the same. When the toy is spinning quickly, the wings seem to go up and down.


Assembling the Hummingbird Spinner
Use either cardstock or regular computer paper to print the Hummingbird Template.
Cut out the two circles around the hummingbird pictures. If your template was printed on cardstock, you can skip to the next step. If your template was printed on regular computer paper, cut out a circle of manila folder or cereal box cardboard that exactly matches the size of the other two circles.
Place the two hummingbird circles on the table in front of you. Twist one circle so that the bird in the picture is upside-down. Keeping the bird image the upside-down position, flip the circle over and slip it under the right-side-up bird. You can check to make sure you have done it right by picking up the two layers with your fingers on the black dots and turning the circles towards you. The hummingbird should always be right-side-up when it is facing you.
When everything is lined up the way you want it, glue the circles together with a glue stick. If your birds are printed on computer paper, glue the cereal box cardboard in between the two bird circles.
Punch a hole through the black dots on either side of the bird. Loop a string through each hole and tie in place.
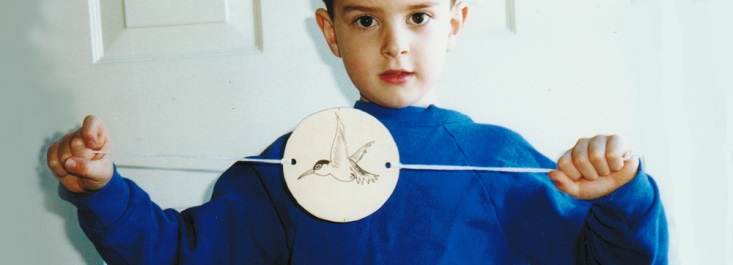
With a string in each hand and the spinner held out in front of you, keep circling your wrists round and round until you have wound the strings up. Gently pull the strings outward. The bird will look as if it is flying as it spins.
Design Your Own Toy Spinner
You can design your own spinner by thinking of an image that would have a simple moving part. For example, you could have a stick figure waving his arms. Or you could have a face making a silly expression.
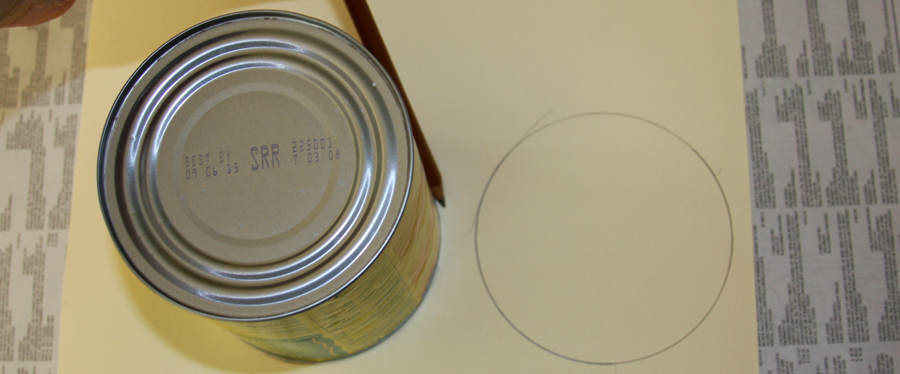
Take a can and trace around the bottom to make two circles. Again, you can use cardstock or regular computer paper.

Cut out the two circles.
Draw two dots to mark where the holes will be punched out later for the strings. Also draw little lines at the top and bottom to help you line up the drawings later.
Draw a silly face in the middle of the circle.


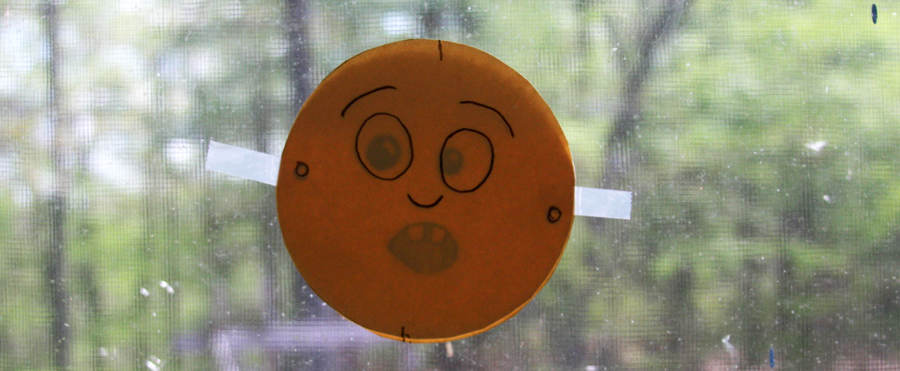
Put the second circle on top of the face and tape it to a sunny window. The light coming through the window will let you see your drawing.
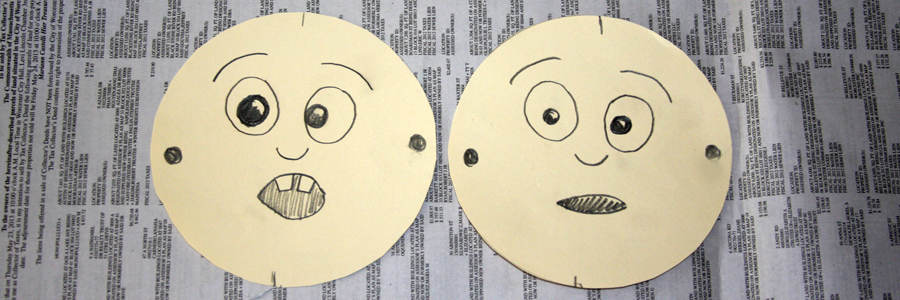
Trace over the dots for the strings and the little lines at the top and bottom. But don't trace the whole face onto the second circle. Only trace the parts of the face that you don't want to move. We decided that we wanted the pupils to change within the eyes and the mouth to move. So at this point, we only traced the eyebrows, the eyeball outlines and the nose).

Take the circles down from the window. Make the changes you want on the second face.

Put the circles back to back so that both drawings are facing out. Turn face on the side away from you so that it is upside-down. You can check to make sure you have done it right by picking up the two layers with your fingers on the black dots and turning the circles towards you. The face should always be right-side-up when it is looking at you.
When everything is lined up the way you want it, glue the circles together with a glue stick. If your faces are printed on computer paper, glue the cereal box cardboard in between the two face circles.
Punch a hole through the black dots on either side of the face. Loop a string through each hole and tie in place.
With a string in each hand and the spinner held out in front of you, keep circling your wrists round and round until you have wound up the strings. Gently pull the strings outwards. The face will look as if it is moving as it spins.
Thank you to all the writers, bloggers, newsletters and magazines that credit and acknowledge Childrensart.info when you adapt or quote an idea or tutorial from my website.