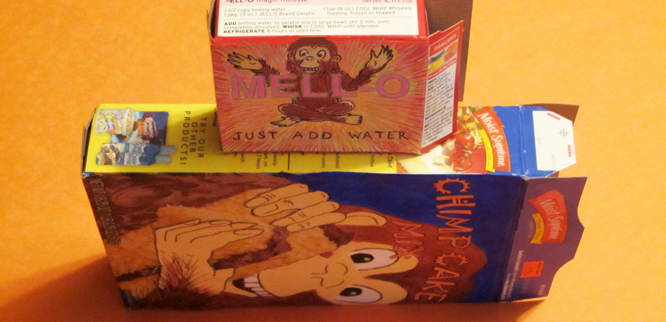
Cake Mix Book Safe


Is Marina the Black Cat curled up with a good book? No, she is curled up with a book safe made out of a cake mix box. I designed this book safe after much creative soul-searching and several scratches that I received making my book safe made from a real book.
Marina prefers this version because it is lighter on her stomach, and it leaves books to fulfill their actual purpose.
What you will need :
Cake mix box, or an empty box of your choice. You can use any size box you want.
Pudding mix box, or an empty box of your choice. Just make sure the box isn't as deep as your larger box, or it won't insert correctly.
Ribbon, if desired for a bookmark
. We used yellow and brown.
Hair comb or worn out toothbrush
Cardboard. We cut up a shipping box, but if you want to make a safe that lasts longer, you can use > .
Fabric to cover the boards.
Two sheets of .
Sheet of cardstock or drawing paper
Pencil
Scissors
Craft knife, used under adult supervision
Wax paper
Clean tea towel or dish towel
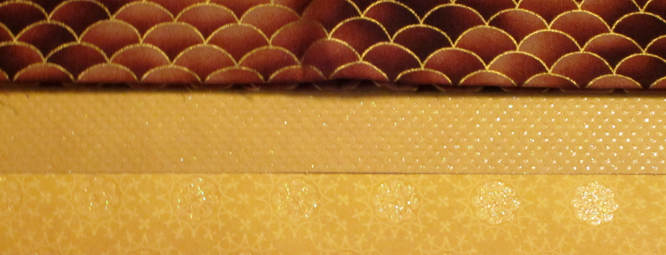

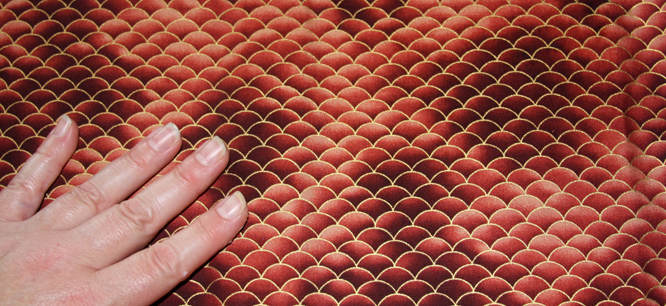
We used a piece of cotton fabric left over from another project. See the section below on making the binding case to figure out how large a piece of fabric you will need.
For the endleaves, we didn't have two matching pieces of scrapbooking paper that were large enough. We chose two sheets that were the same basic color and that went along nicely with the fabric for the outside of the case.
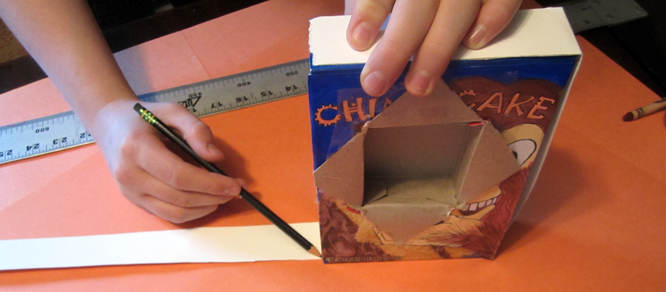
Making the Pudding Box Inset

Make sure that the depth of the pudding box is shallower than the cake mix box.
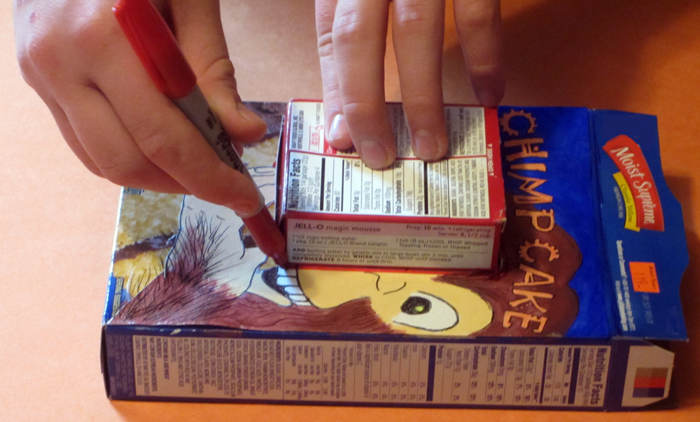

Position the pudding box over the middle of the cake mix box and trace around the sides.

Fold up the clean tea towel and gently push it inside the cake mix box. Don't force the towel in all the way if it doesn't fit.

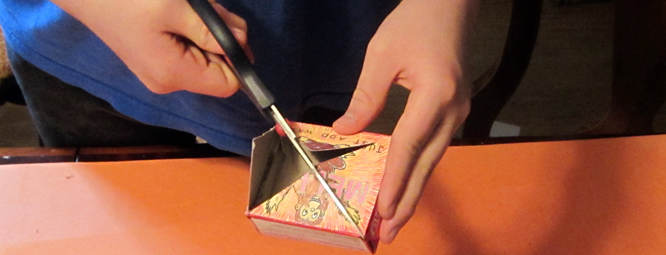
Gently push a pencil through the middle of the small square you traced onto the cake mix box.
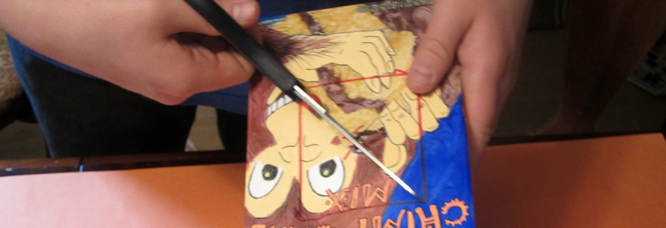

Slip the bottom blade of your scissors through the pencil hole. Make four diagonal cuts into the corners of the small square.

Fold the triangles down into the inside of the cake mix box.
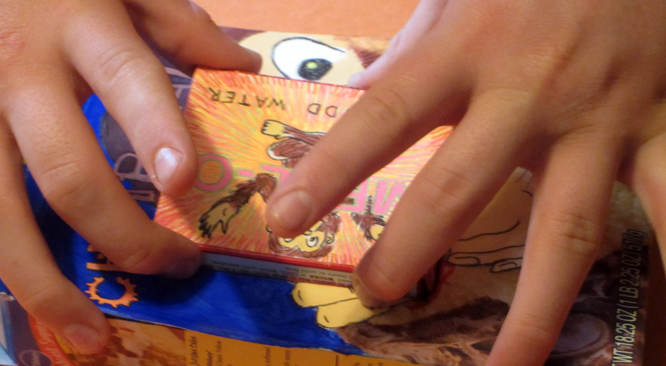

Check to make sure that your smaller pudding box will fit easily into the hole that you just cut into the cake mix box.
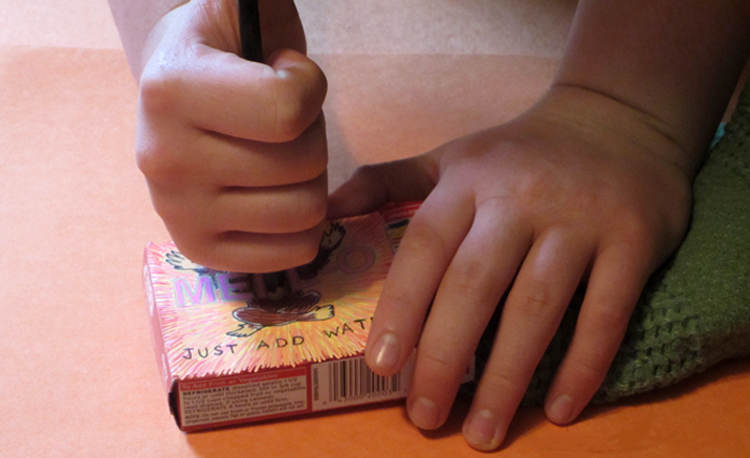

Push a corner of the clean tea towel into the pudding box. Don't force the towel all the way into the box. Gently push a pencil through the center of the box.

Slip the bottom blade of your scissors through the pencil hole. Make four diagonal cuts into the pudding box's corners.
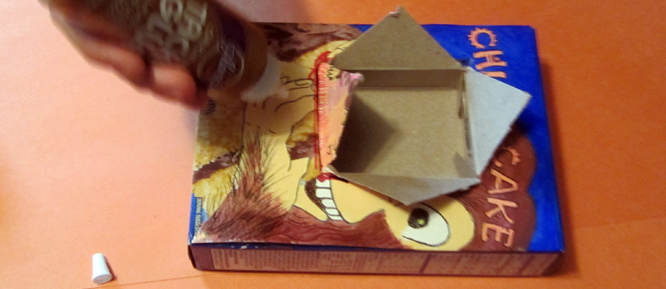

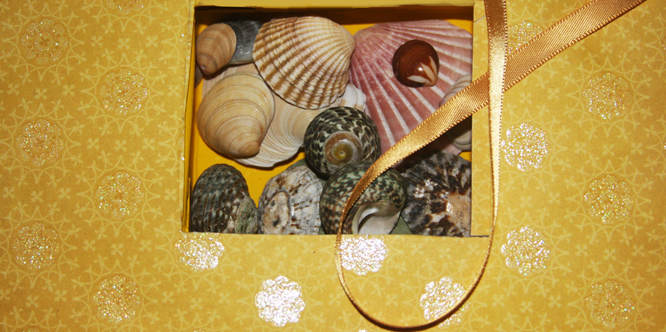
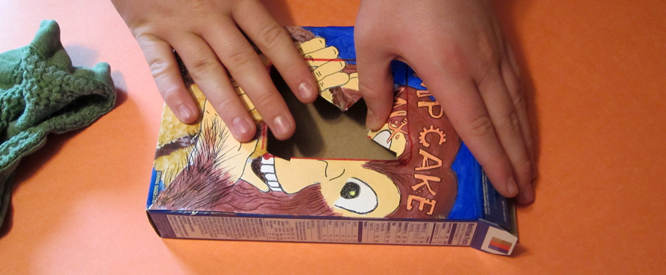
Slip the pudding box into the hole in the cake box. Fold back the triangles and glue them down onto the front of the box. If the triangles don't stay flat, use tape to hold them in position, or weigh them down with a light book.
Paint the inside of the pudding box in a color that matches the endleaves.
Making the Safe's Binding Case
Take a moment to look at a hardcover book.
The boards are a bit larger than the inside pages. In this way, the boards protect the inside pages from dents and other wear.
There are spaces between the side boards and the spine board that act like joints.. The spine board isn't glued onto the back of the book. Because the spine is given some movement, the book opens easily
Even though this binding case will hold a cake box instead of real pages, the method of making the binding case is basically the same.
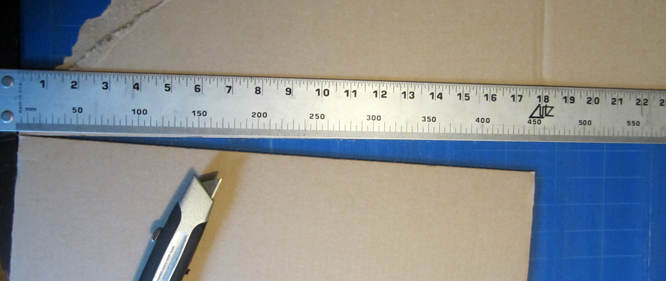

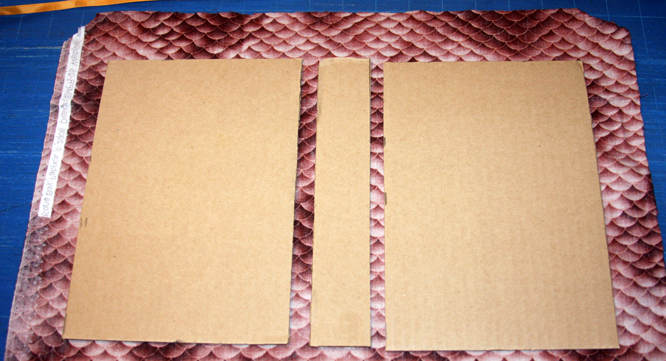
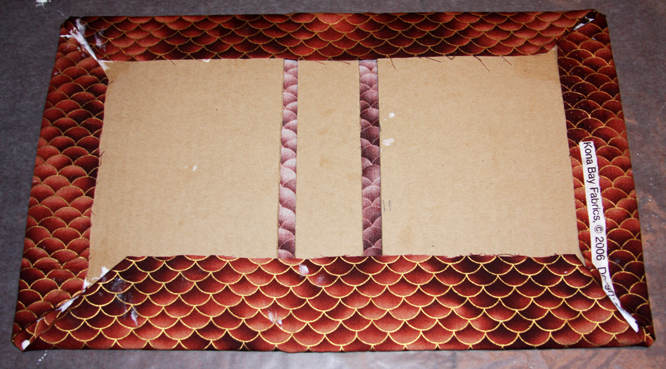
Measure the front of your cake box. Add a 1/2" to the width and 1" to the height. Cut two pieces of cardboard to this side, one for the front, one for the back.
Now measure the side of your cake box. Use the same width as the side of the cake box, but add 1" to the height of the box.. Cut one piece out of cardboard to these measurements.
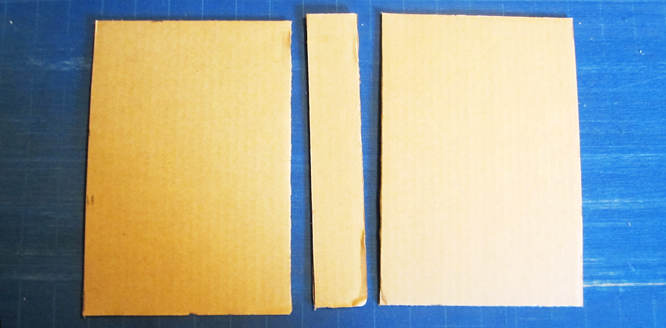

Lay out your pieces like this. Leave about 1/2" between the side boards and the spine.

You will need 1-1/2" of extra fabric all around to wrap up and over the boards.
To figure out how large a piece of fabric you need, measure side to side across the boards as you laid them out (include the spaces in between the side boards and the spine in your measurement). Add 3" for the extra fabric side to side.
Measure the boards top to bottom, and add 3" for extra fabric.
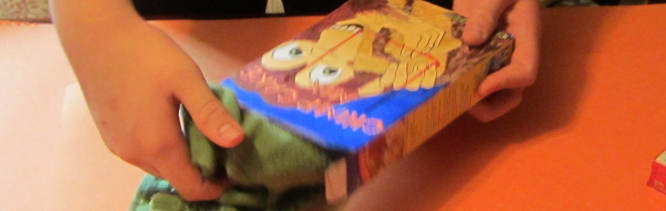
If your fabric is rumpled, you might need to iron it flat. Smooth out the fabric, printed side down, over a piece of wax paper. Lay out the pieces of cardboard again so that they have the spaces between the sides and the spine board. The pieces should be laid out evenly with 1-1/2" of extra fabric all around. Line up the edges..
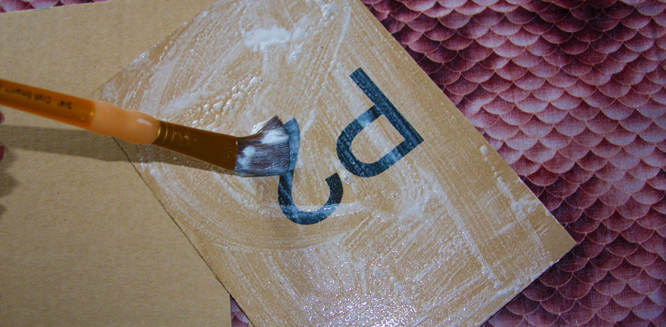

Now is the time to glue the boards into their places. If your glue is too thick to brush smoothly, squeeze some into a bowl and mix in a little water until it is still tacky but doesn't drag too much on the brush. (If the glue is too soupy, it may soak through the fabric and leave shiny spots. If the shiny spots are noticeable, when the book safe is completed, you can brush more glue on the outside of the covered boards. This will hide the shiny spots with more shine.)
Brush glue over one of the boards and reposition it back in its place on the unprinted side of the fabric. Glue and reposition all the cardboard pieces into place.

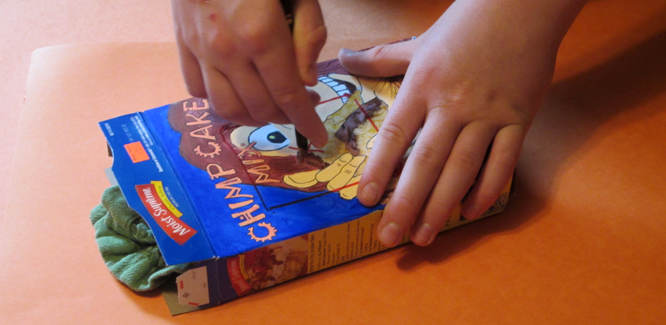
Before the glue sets, flip the cardboard and fabric over so that the fabric's printed side is facing up. Smooth out any wrinkles.
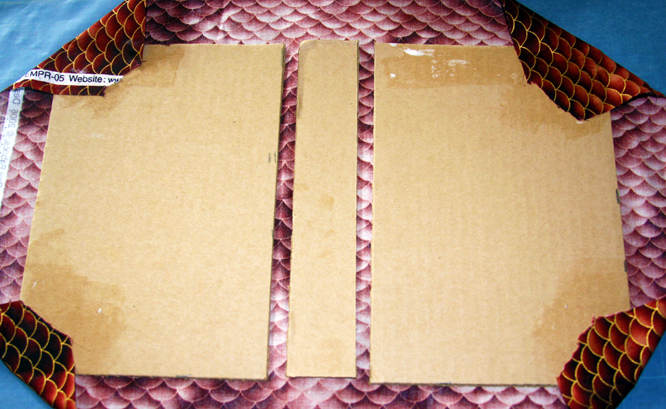

Brush glue on a corner of the extending fabric and fold it over its corresponding cardboard corner. Rub it smooth and brush additional glue over the top of the corner so that it stays in place.
Glue down the other three corners in the same way.


Glue the excess fabric on the sides and fold up and over the cardboard. Try to make the fabric snug as possible without overp-pulling or wrinkling the fabric.

Smooth more glue over the corners. Lay another sheet of wax paper on top, weigh it down with something flat, and let it dry completely
Painting Fake Pages
With a little paint and a hair comb (or old toothbrush), you can make the side of the cake mix box look like pages

Cut a long strip of paper that is wide as the box is deep. The strip should be long enough to wrap around the top, one side, and the bottom. If you need to glue paper together to make the strip, try to space it so that the joined parts are at the corners.


Crease the strip of paper over the corners and glue into place.
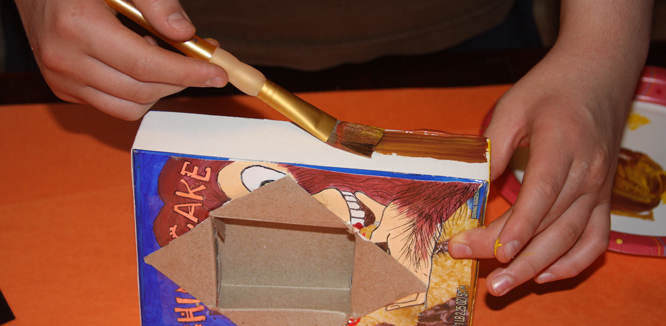

Mix two colors of acrylic craft paint together so that the colors are still streaked. We used brown and yellow to match our printed fabric. Light blue and white would work well too.
Brush the streaked paint over one side of the box.
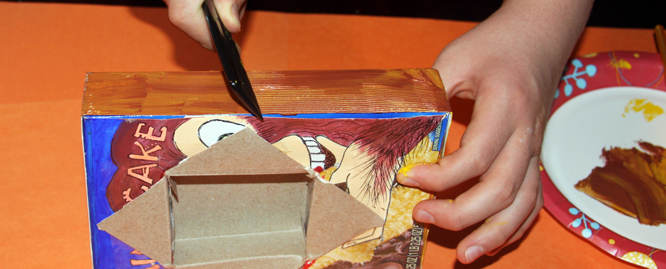

Drag a comb through the wet paint. Comb in the direction that pages would show in a real book.


Paint and comb all three sides and let dry.
Assembling the Cake Mix Box Book Safe
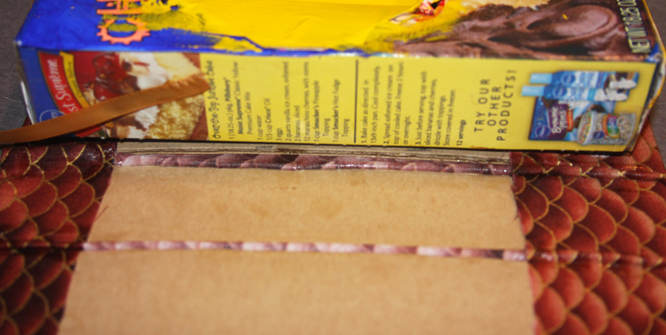

If you want a ribbon book mark for you book safe, glue one end to the back of the box.
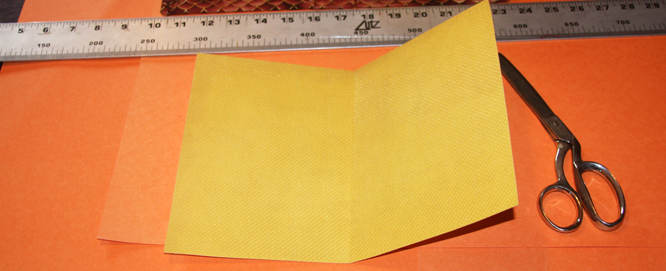

For each endleaf, measure out a rectangle that is as tall as your cake mix box and is twice the width. Fold each down the middle.
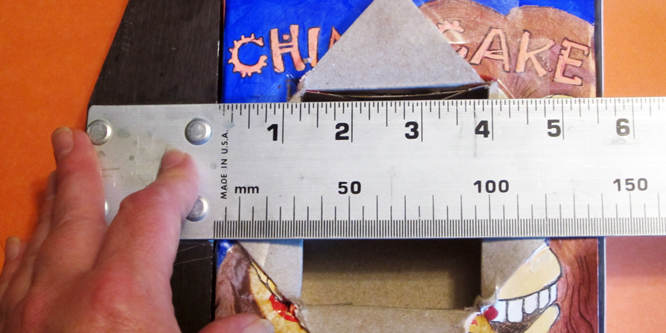

Measure how far the edges of the pudding box inset sit from the edges of the cake mix box.
(At this point we noticed that we'd forgotten to paint the inside of the pudding box. We could have painted the inside earlier, when we were painting the fake pages on the side of the cake mix box.)
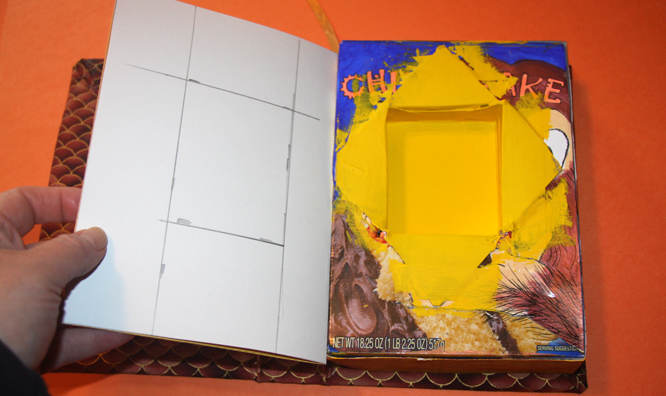

Transfer the measurements onto the back of the front endleaf. Gently push a pencil through the center of the drawn square and cut out.
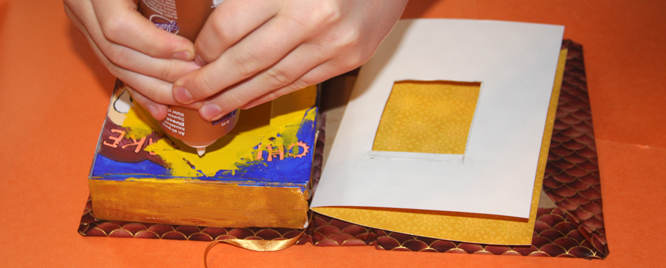

Glue the endleaf onto the front of the box so that the pudding box and the square hole line up.
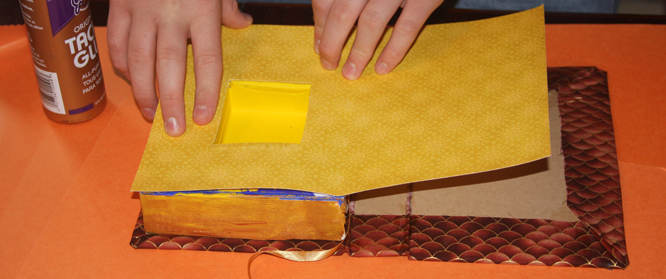

Glue the other side of the endleaf to the back of the front board.
Glue the endleaf into the back of the safe in the same manner. Keep glue away from the board over the spine so that the book safe will open and close freely.