Children's Art - Easter Egg Crafts
We used hardboiled and plastic eggs because they are easier to handle. If you decide to use emptied eggs, clean them and any surface touched by the liquid egg carefully (some eggs carry salmonella).Colored Pencil Eggs:
Without pressing down too hard on the eggshell, draw a spiral design. Color in the blue swirls first and then fill in the pink. You can go back in a second time to darken up the colors, or lay another color over the first (for example, color orange over the pink, or color purple over the blue). Some colored pencils come in metallic colors as well.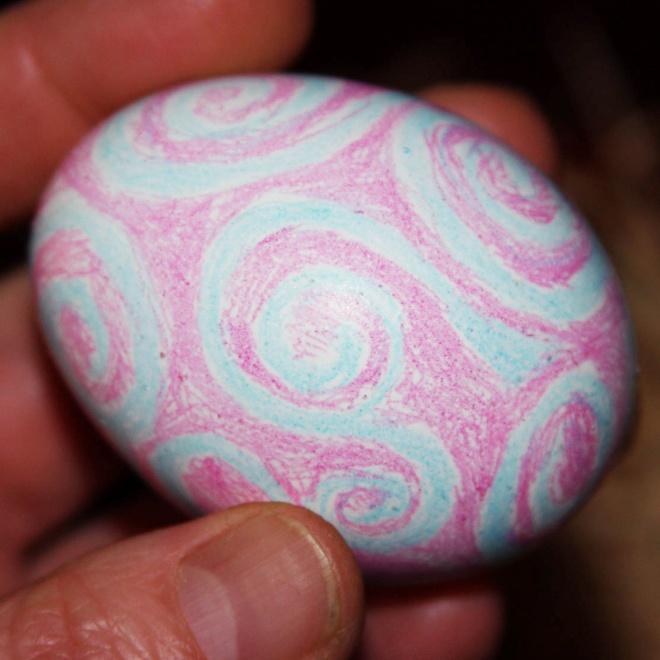

Glitter Glue Eggs:
Cover your work area with newspaper and set out some old bottle caps to hold the eggs while they dry. Squeeze different colors of glitter glue over the ends of the eggs. You will need to wait a few hours for the glitter glue to dry before you can turn the eggs over to decorate the other ends. The delicate sparkles on the eggs will make it well worth the wait!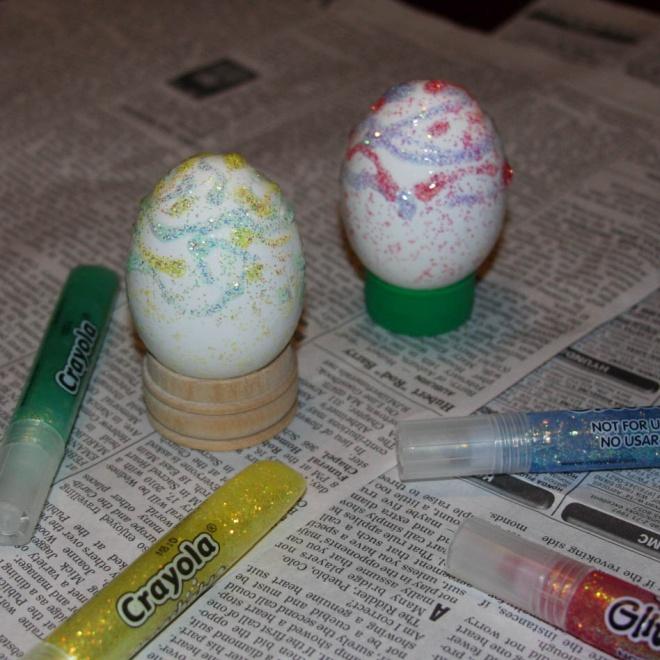

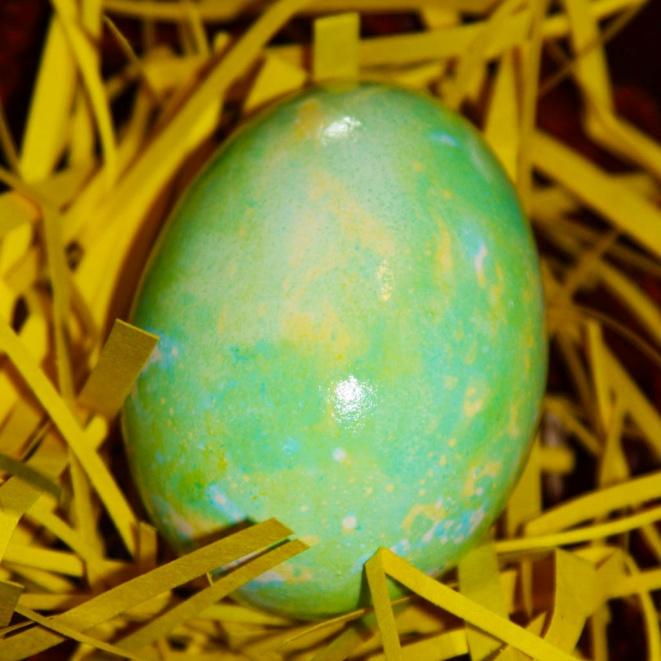
Food Color Marbled Eggs:
This project can be a bit messy, so you will need to cover your work area with newspaper. Take out several bowls or cups, and in each of them mix 2 tablespoon of vinegar, 2 tablespoon of vegetable oil, and water. Then mix a different color of food coloring into each bowl. The water, vinegar, and food coloring will mix together, but the oil will resist joining the others. Stir the liquids together right before you dip the egg. When you take the egg out, you will see colored areas where the food coloring liquid touched the egg, and white areas that the oil prevented the food coloring from touching.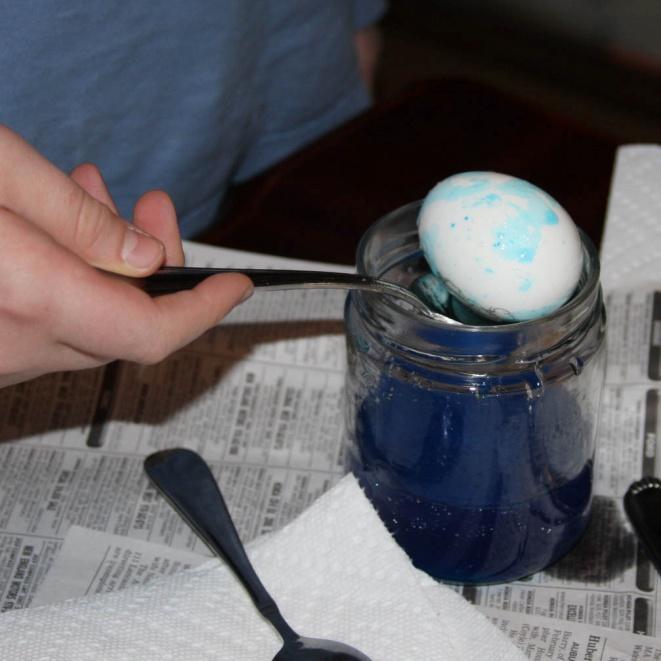

Rub the egg dry with a paper towel. Choose another color to dip the egg into, remembering to mix the liquid right before you put the egg in. When you are done, the egg will still be a bit shiny from the oil.

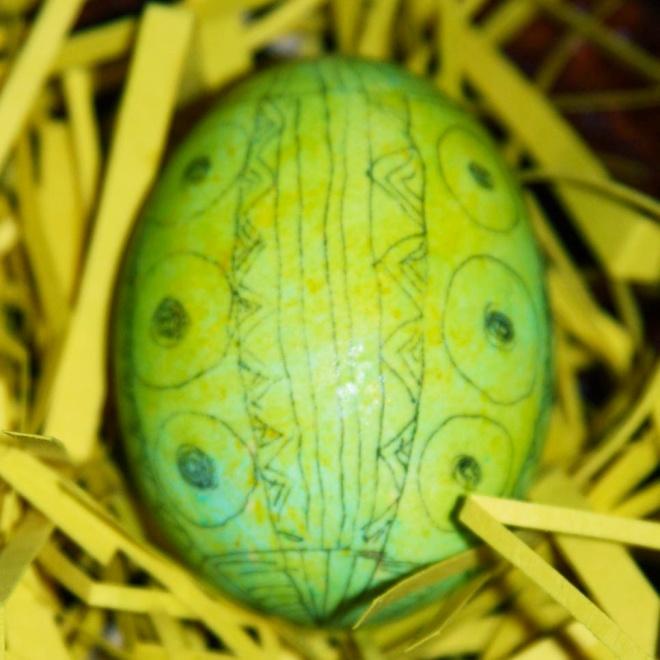
You can also draw on the egg first with a black permanent marker (we use Pigma Micron Pens because they don.t have an unpleasant odor as many other markers do). Give the egg a minute to dry, and then marble the egg.

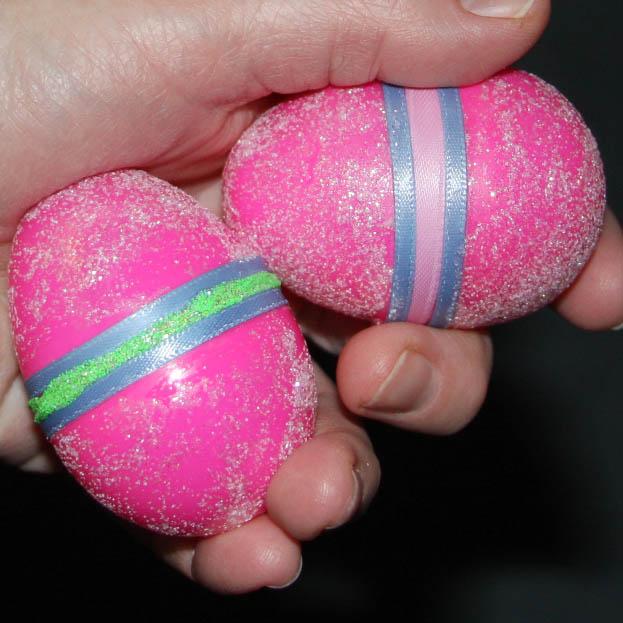
Dressed-up Plastic Eggs:
With the egg open at the middle, glue a length of ribbon around the edge opening. If the egg is the hinged kind, have the ribbon ends meet in back at the hinge. Glue one or two more lengths of different colored ribbons near the first (if you add too many ribbons away from the egg.s middle, the ribbons won.t lie flush against the egg). You can also draw thick lines around the egg.s middle with glitter glue. Using your fingers, rub a layer of glitter glue over both ends of the egg.