Paper Mini Top Hat
Part 1 - Mad Hatter Paper Hat |
Part 2 - Top Hat Steampunk |
Part 3 - Paper Mini Top Hat

What you will need :
Printed-out template for Mini Top Hat pdf
Ruler
Pencil
Scrapbooking paper or card stock
Scissors
Cellophane tape, if desired
if desired
Waxed paper
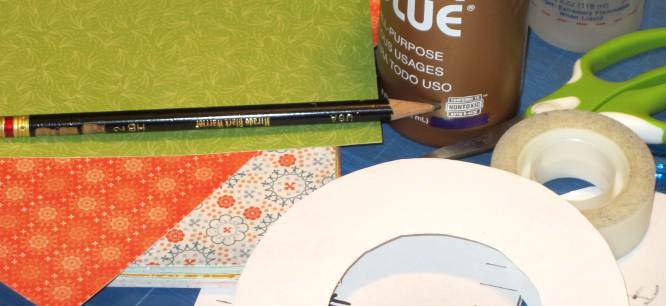

Scrapbooking paper is sturdy and vibrantly colored. We used sheets from two different pads of scrapbooking paper, and the . If you use scrapbooking paper, you'll be able to fit a second brim piece onto the same sheet. If you use card stock, you will need to use a second sheet per hat.
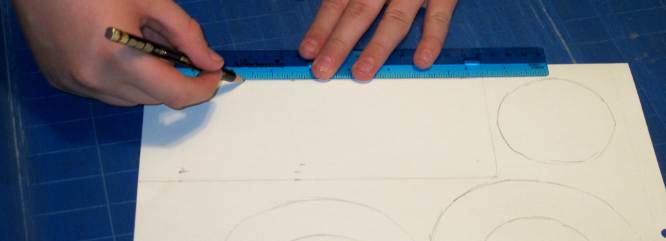

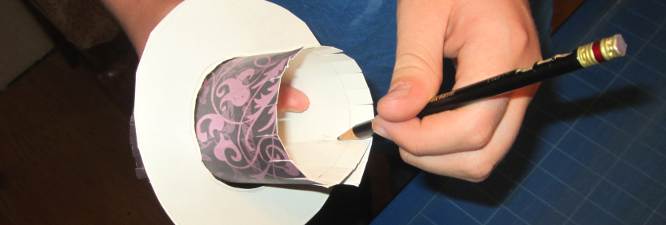
Cut out and trace your pattern onto the back of the scrapbooking paper. Trace two brim pieces. Measure a line 1/2" up from the bottom of the crown, and another line 1/2" down from the top.
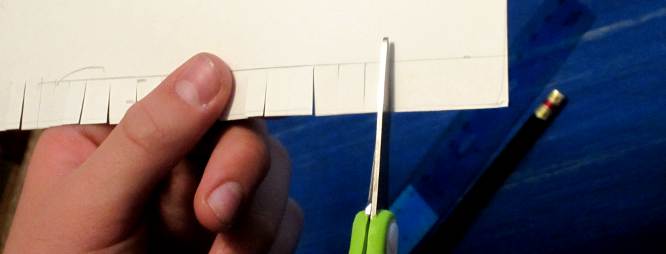

After cutting out the pieces, cut notches up to the 1/2" lines you drew on both sides of the crown piece.
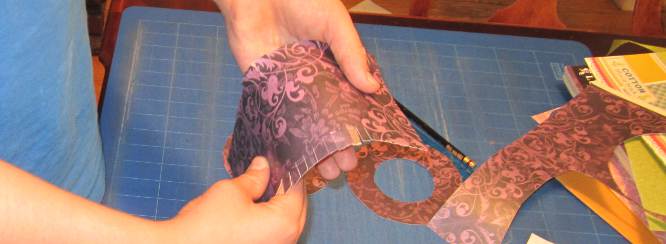

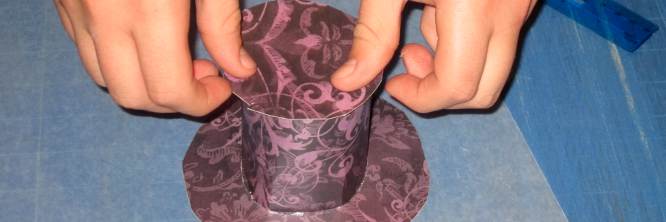
Gently pull the crown piece over one hand to curl the paper into shape. This step will make it easier to roll the crown into a cylinder without creasing the paper.
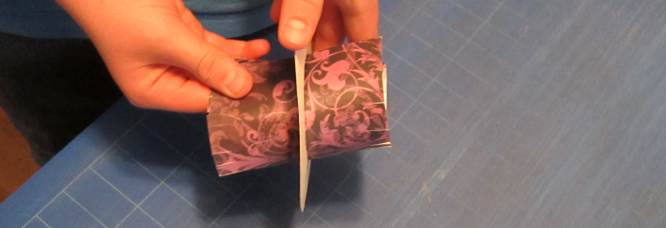

Adjust the cylinder to that it fits snugly inside the brim.

Mark where the seam overlaps. Use the line as a guide as you glue the cylinder together. To hold the seam together as it dries, you may want to run a piece of tape along the inside seam.
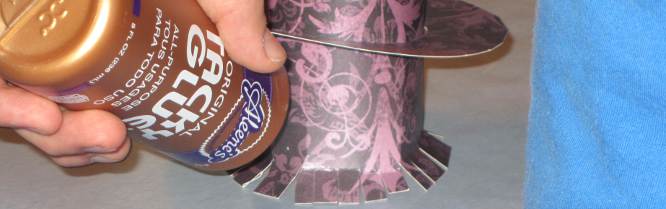

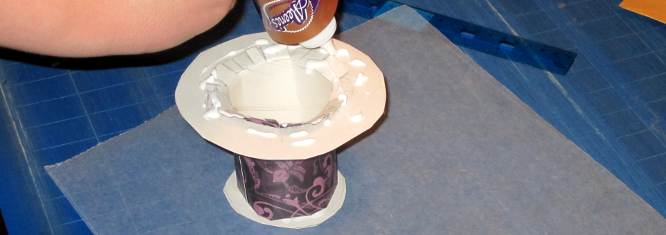
FOLD OUT the notches at the bottom of the crown. With the hat on top of a piece of wax paper, glue the notches. Slide the brim down into position.


Hold the brim down flat for a minute or so until the glue holds.
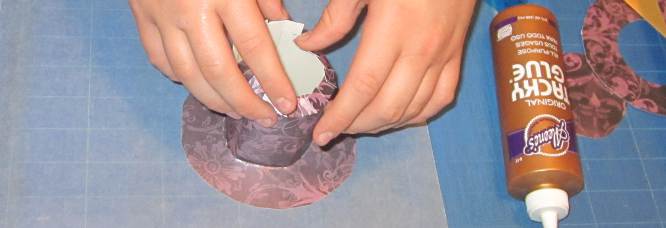

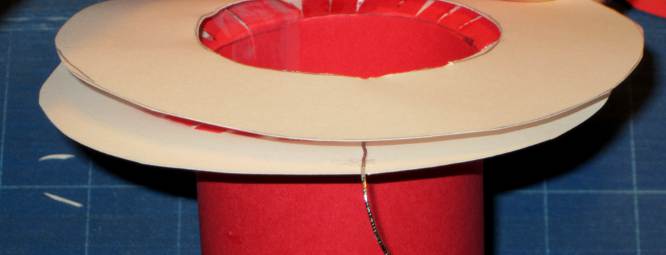
FOLD IN the notches at the top of the hat.

Glue the notches and position the top of the hat in place.

Flip the hat onto its top. Glue the bottom of the brim.
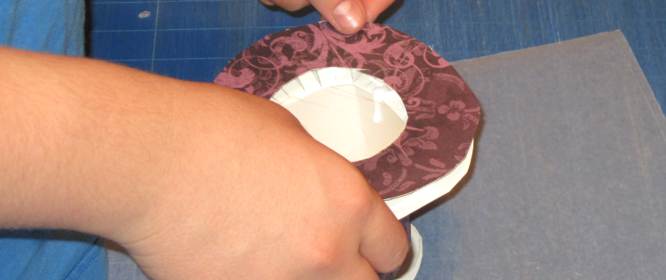

Position the second brim, pattern-side up, over the notches. Let dry.

You can pin or clip your mini top hat into your hair. Or you can glue both ends of an elastic cord in between the brim pieces so that you can have a strap.
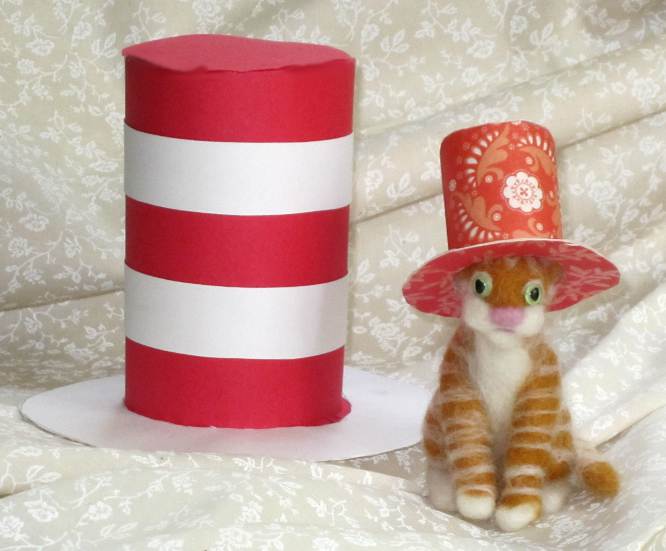

You can print the top hat template at different percentages to make hats in different sizes. For the Dr. Seuss Cat-in-the-Hat hat, we added an extra inch to the crown to make it taller.