Real Book Book Safe

An unloved book can be repurposed into a secret hiding place for cherished objects. This project took longer than I expected when I was planning it out. However, by the time I finished the project I had several people either planning to make one themselves, or wanting the one I made!
That being said, this project is for older children with adult supervision. After completing this project, I designed a safer, easier version using a cake mix box. The Cake Mix Box Book Safe is better for younger children.
What you will need :
A thick, unloved--or underappreciated.book, with or without its jacket. I chose a book with a particularly uninteresting title. A potential burglar is less likely to pause in his work to leaf through a book entitled The Complete Statistics of Earthworm Migration than one called How to Make Millions in Just One Week. A discreet book safe is a safe book safe.
Craft brush
Wax paper (or parchment paper)
Ruler
Wood putty, if desired
Scrap piece of poster board or other thin cardboard (I recycled the cardboard backing from a dress shirt)
Scissors
Dry pen to score fold lines into cardboard (you can also use the end of a small paint brush)
or other sturdy paper
Forming the Book Block
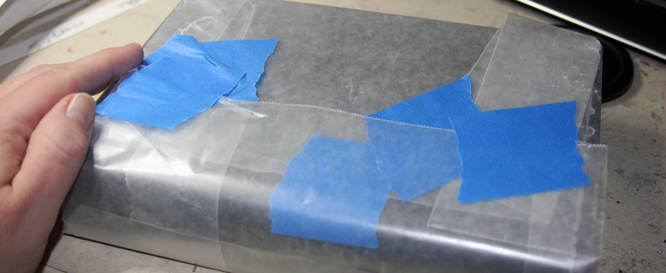

Completely cover the hardboard case with wax paper. Using painters tape will keep the wax paper in place without tearing or marking the cover's paper or cloth covering.

The wax paper covering should extend around the edges and over the inside endpapers. You want to be able to open the boards of the book after the glue dries.

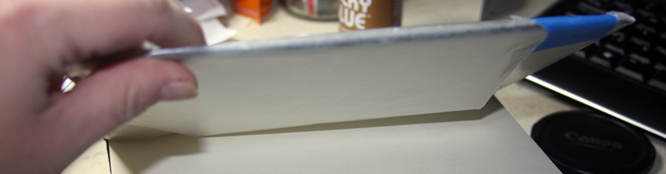
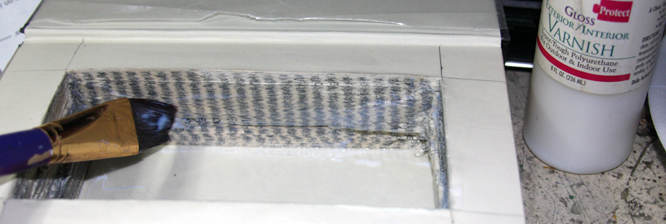
Holding the boards shut around the book, squeeze glue over the edges of paper on the top, front, and bottom sides.
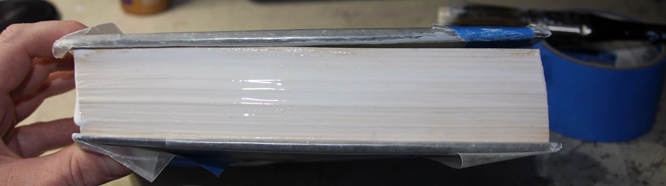

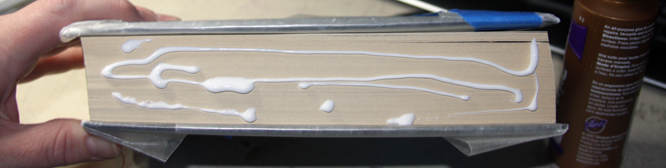
Brushing parallel to the pages, smooth a thick coat of glue over the three sides.
Weigh the books down with a few other books and let dry overnight.< /p>
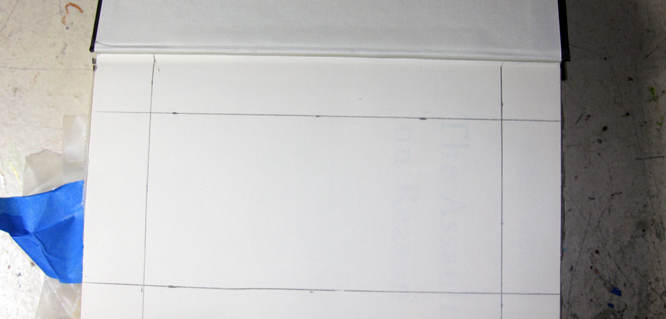

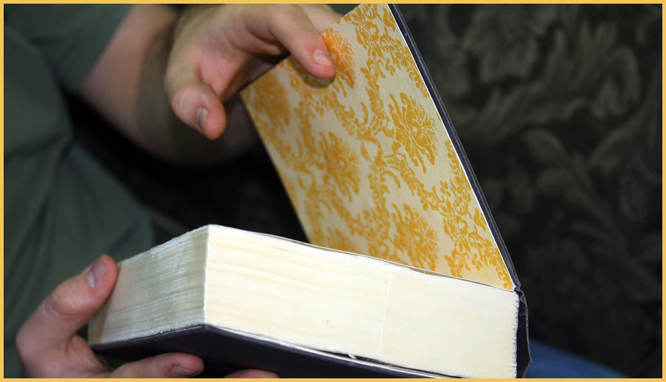
Leaving the wax paper in place, open up the dried book so that the front end leaf shows. Decide how large you want the hiding area to be inside the book. Use a ruler to mark off at least an inch on all four sides.
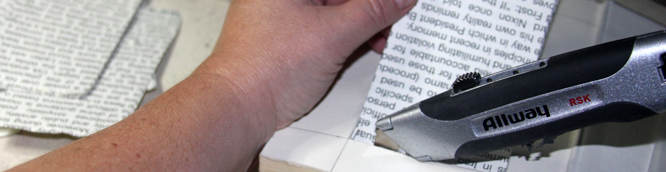

Using a craft knife, start cutting out the center of the pages.


As you can see from my bandaged hand above, it was around this step that we realized this really wasn't a good craft for younger children.
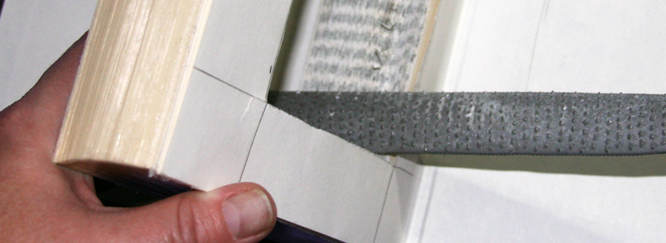

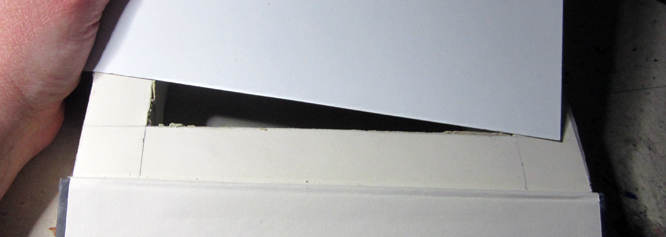
At this point we decided to file down the inside edges to make the box inset fit better. If your edges are smooth enough, you could skip this step.

Glue along the insides of the cut pages to better hold the book block together. Remove the wax paper from the back side of the book and glue the bottom of the book block directly onto the back board. Weigh down the book safe and let dry completely.
Book Safe Box Inset

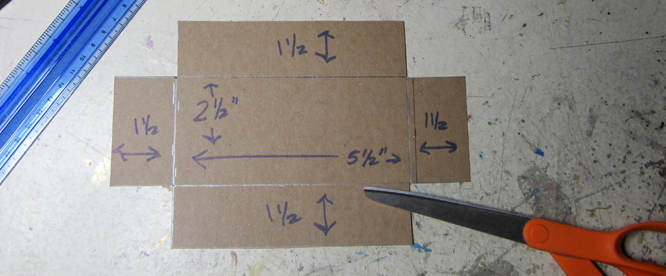
Measure how deep and how wide the space is inside the book block. You will need a piece of thin cardboard that is as wide as the bottom plus twice the depth.
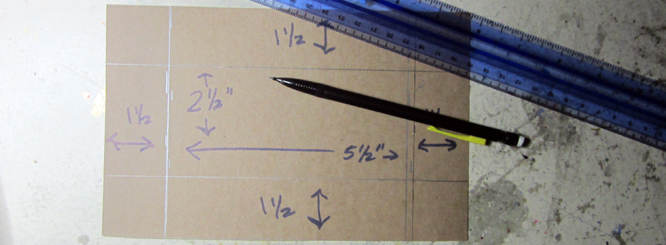

On the back of the cardboard, measure out the dimensions for the bottom of the inset and the four sides.
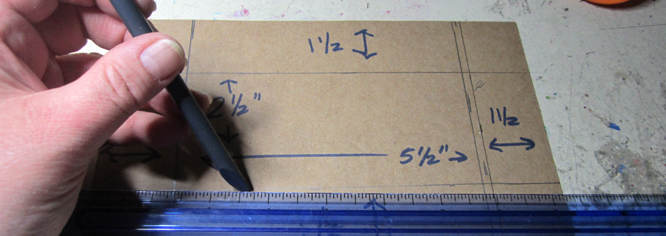

Using a ruler's edge and a sharp point, score the fold lines of the inset box.

Cut out the corners.
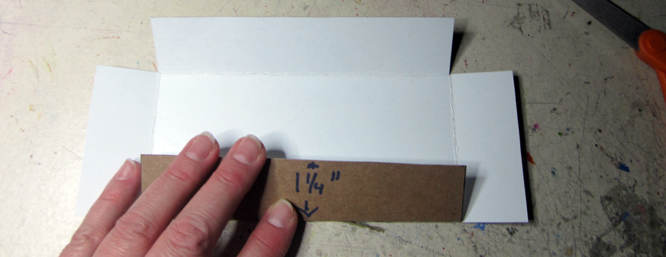

Fold the inset into shape along the scored lines.

Make sure the inset fits correctly. We had to make a second one in order to get it to fit properly.
Brush glue onto the inset's bottom and sides and position in place. Let dry.
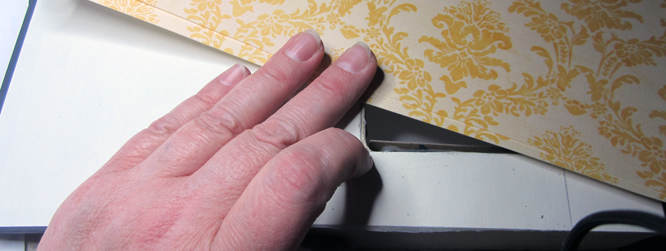

Choose a piece of scrapbooking paper that is as large or larger than the opened book safe.

Cut the scrapbooking paper so that it is the width of the board plus the width of the end leaf side. For the height, the scrapbooking paper should measure as tall as the end leaf side.
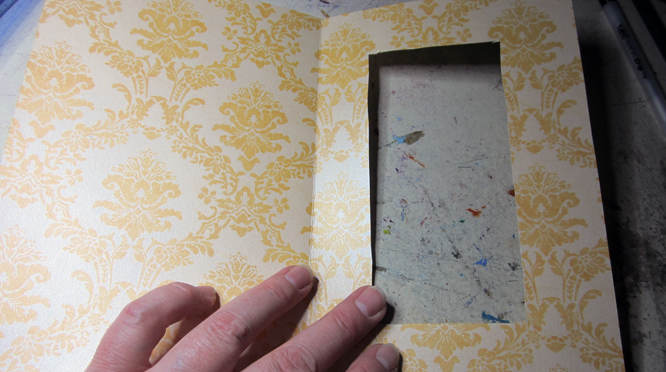
Score the scrapbooking paper down the middle so that the fold fits the gutter. Cut out a window that fits over the inset in the book block.
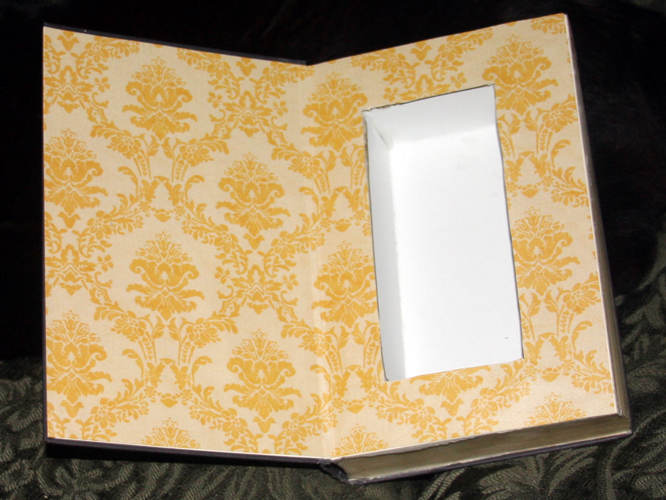

Glue the back of the scrapbooking paper and smooth it over the board and book block. Slip wax paper into the fold, weigh the book down again, and let dry.