Snowman Gourd Ornaments

People have used gourds throughout history. If you've ever eaten summer squash or pumpkin pie, you've eaten vegetables that are related to gourds.
Many gourds are special in that when they are dried, or "cured", in the right manner, they become very hard. Cured gourds can be used to make things that will last for years.
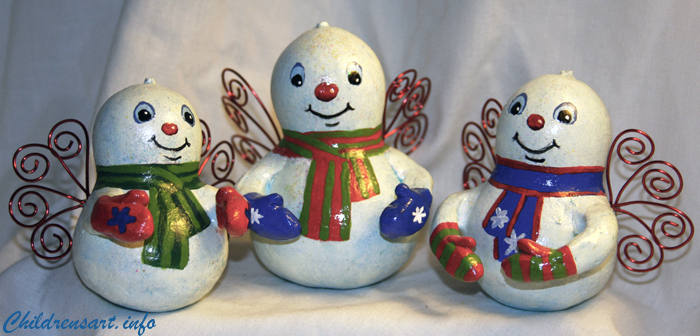
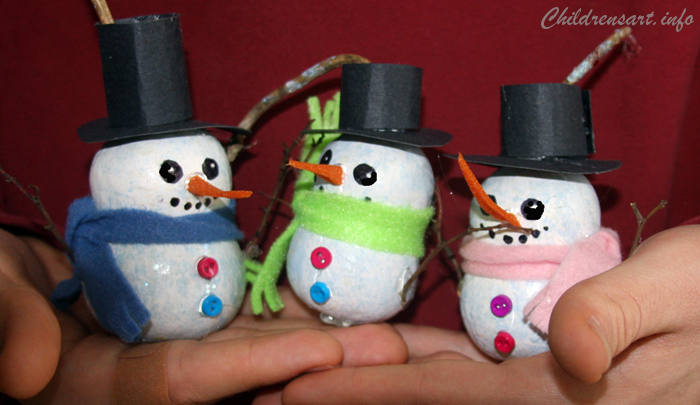
These snowman ornaments are made with small calabash gourds. Calabash are also called bottle gourds. In many places around the world, bottle gourds are used to make cups, bowls, bottles, and carrying containers.
If you would like to see another way of decorating bottle gourds, see our tutorial for making Snow Angel Ornaments on our sister site at The Painted Gourd.
What you will need :
that measure approximately 4" tall.
Clean, unused sponge, cut into thirds
or clear glitter paint, if desired
if desired
Twigs or brown chenille stems for the arms
Felt or recycled ribbons for the scarves
Orange construction paper or scrap of other orange paper
Black construction paper or poster board for the hat
. If not available, you can draw in the buttons with colored permanent markers.
, to be used by an adult or with an adult's supervision!
Scissors
Painting Snow Texture on the Gourd
If you want to keep the stems of your gourds free of paint smudges, wrap blue painters tape around the stems before you start painting. Painters tape peels off easily, so it will not damage the fibers of the stem after the paint has dried.
As I am an inherently messy person, this didn't occur to me until after my gourd stems were, indeed, smudged.
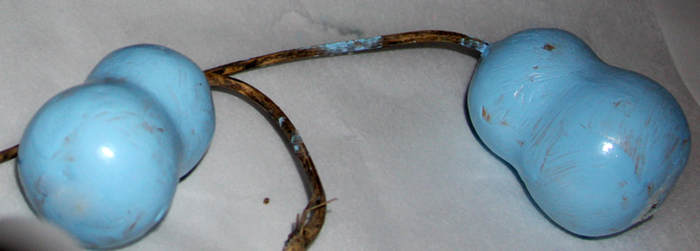

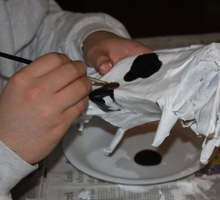
Paint the gourds with light blue acrylic paint and let dry completely.
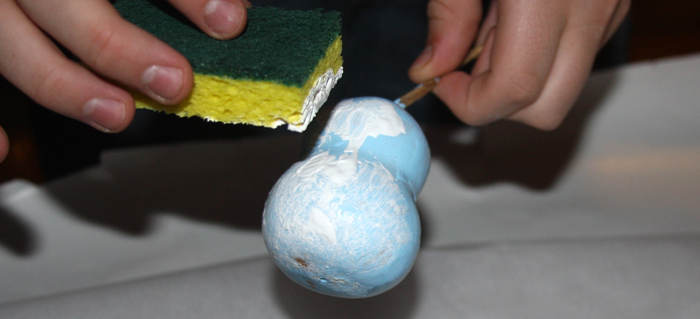

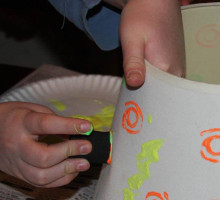
Moisten the sponge until it is just damp. Squeeze out just a bit of white acrylic craft paint. Lightly dab the white paint over the gourd, leaving the light blue paint showing in places.
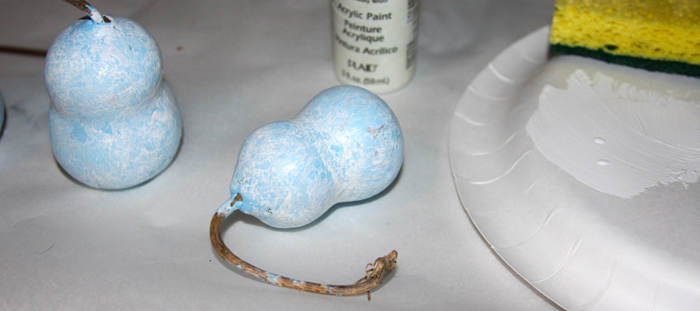

Let the gourds dry completely.
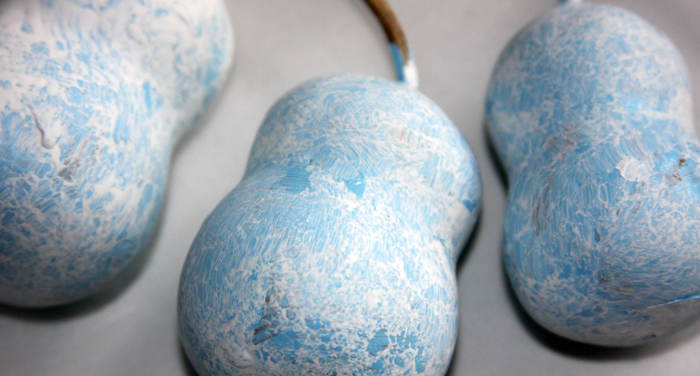

When you look at a real snowman, you will see that in the shadows the snow looks light blue.
We decided that our snowmen were still a bit too blue, and needed the white of the snow to be stronger.
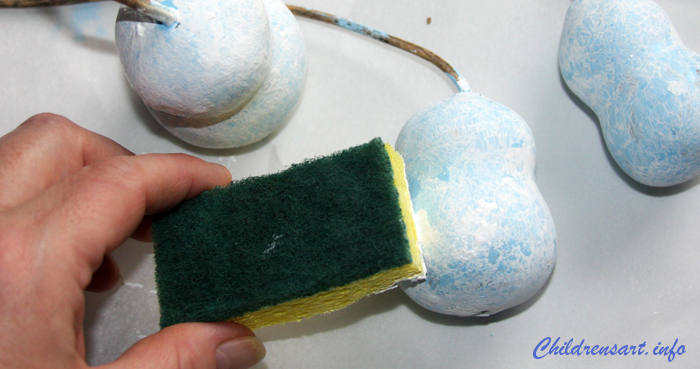

We dabbed a second coat of white over the gourds, still making sure that we left blue for the shadows in places.
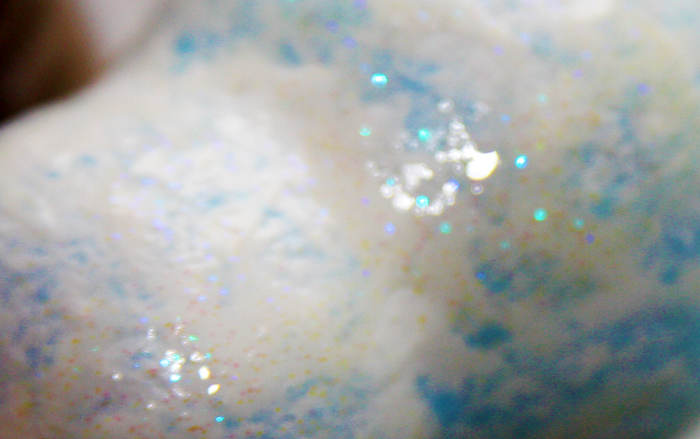

After the second coat of white paint dried completely, we brushed glitter glue over the surface. If you can't find clear glitter glue, you can use clear Twinkle sealer or add fine glitter to your own polyurethane craft varnish.
Let dry completely.
Adding features to the Snowman
If you don't want to draw the snowman's face, you can cut the shapes out of paper and glue them into place instead.
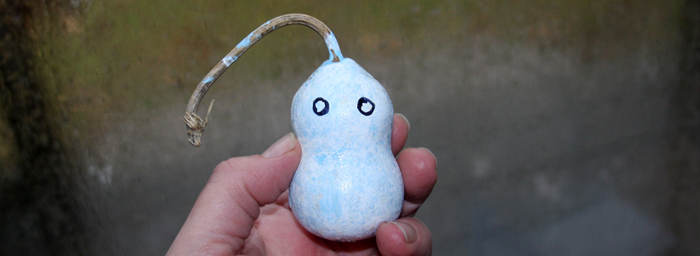

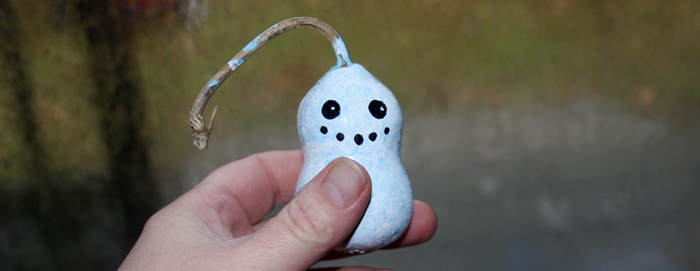

Fill in the eyes, leaving a small white circle in each eye for the highlight.
Draw in the snowman's coal smile.
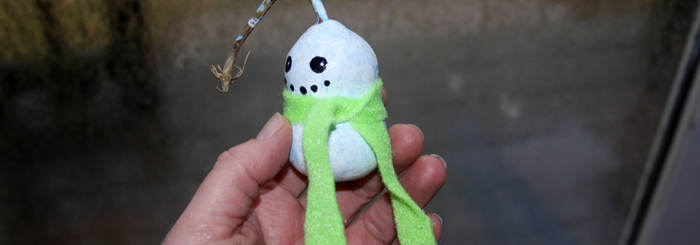

Cut a narrow strip of felt for the snowman's scarf. Tie the strip around the snowman's neck and trim the scarf so that the ends are a few inches long. Cut fringe into each end of the scarf.
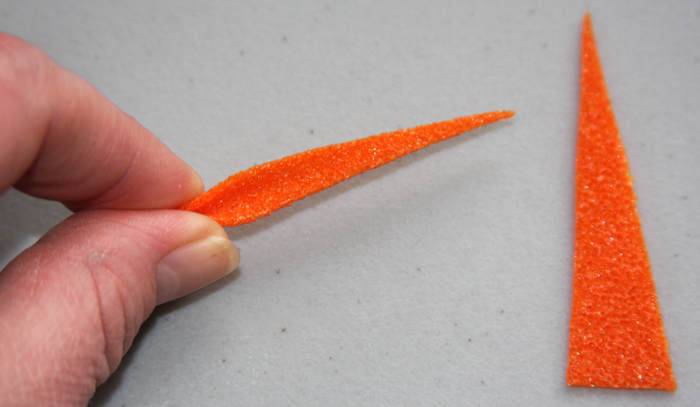

Cut a long triangle out of the orange paper. Pinch the triangle's shortest end into a fold.
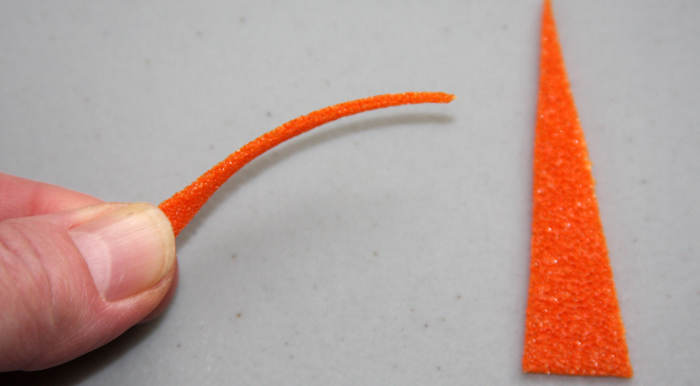

Gently bend the thin end into an upward curve.
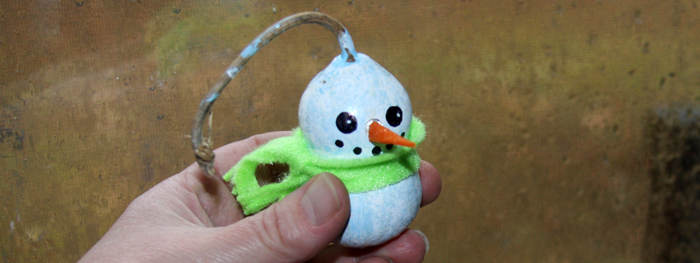

Warm up the glue gun (Use with caution!). With the folded edge facing up, glue the shortest side of the triangle into place on the snowman's face.


Using the glue gun, glue the mini buttons into place on the snowman's tummy.
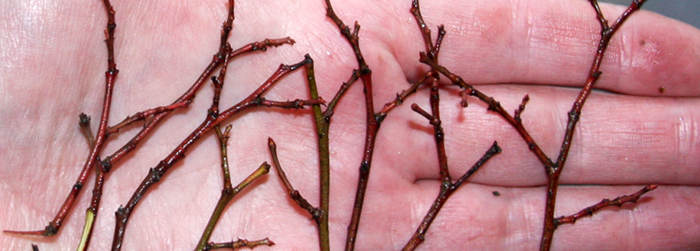

We gathered twigs from our blueberry bush to make the snowman's arms. If you do not have suitably small twigs available, you can make arms out of brown chenille stems instead.
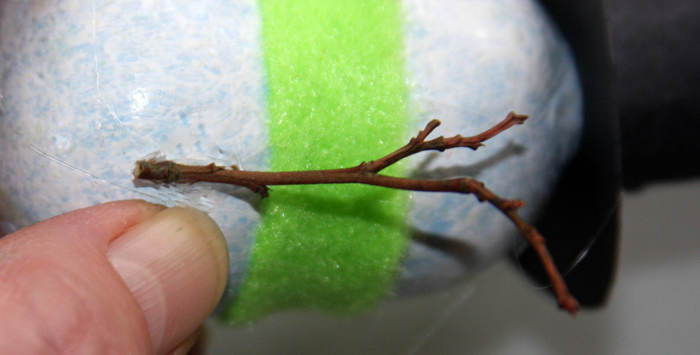

Using the glue gun, glue the snowman's arms at an upward angle.
Making the Snowman's Hat
If you like making a stovepipe hat for your snowman, make a larger hat for yourself!
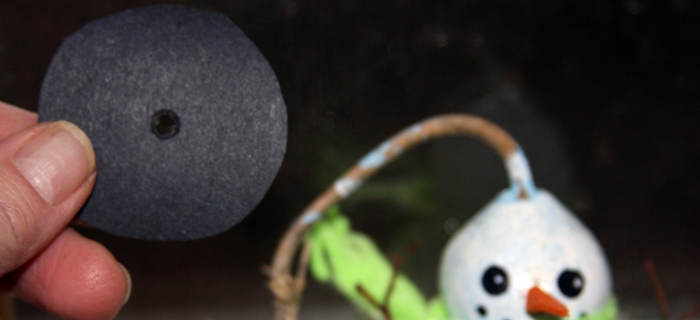

For the brim of the stovepipe hat, cut a circle out of black construction paper that is as wide as the snowman's head. Poke a hole in the center of the circle.


Our snowman had a bump on top of his head, so we enlarged the hole so that the brim slipped further down on his head.


Cut a strip of paper that is long enough to wrap around your finger.
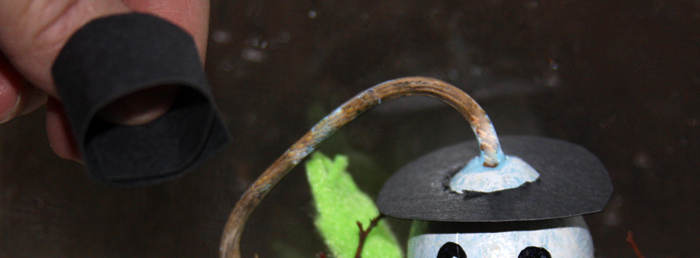

Glue the ends of the strip together to make the top of the hat. Slip the hat up and over the stem. You may have to trim the height of the hat if the stem has a bend in it. Glue the top onto the hat's brim.
If you would like to see another way of decorating bottle gourds, see our tutorial for making Snow Angel Ornaments on our sister site at The Painted Gourd.
