Ribbon and Lace Bracelets

This tutorial is adapted from my article originally published in the February 1999 edition of Today's Parent Magazine.
You can make all your friends pretty Valentine bracelets with this easy craft.
What you will need :
and reds. We used ribbon in 3/8" and 5/8" widths.
. We like Aleene's because it doesn't smell bad, and it easily peels off fingers once it has dried.
If you can't find the kind with the self-adhesive backing, you can use fabric glue to hold the Velcro in place.
The Basic Ribbon Bracelet


Craft shops sell an assortment of colored satin ribbon in different widths. We also used ribbons we had saved over the years from gift boxes and flower bouquets.
Choose a wider ribbon for the base of the bracelet. Wrap the ribbon around your wrist so that it isn't too snug, and then add another 3/4" to 1" for the overlap. You can shorten the ribbon later if it is too long.


Squeeze a little fabric glue over the length of the base ribbon. Lay a thinner ribbon of the same length on top. Smooth the top ribbon so that it is affixed to the base ribbon.
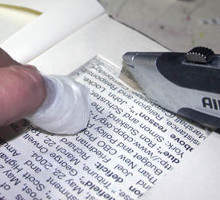
If you don't want your fingers to get glue on them, or if you squeezed out too much, use a cotton-tipped swab to move the glue around.


Squeeze little dots of glue every 1/2" or 3/4" along the ribbon.


Place your decorations on top of the glue and press them into place.
Let the glue dry.


Cut a section of self-adhesive Velcro tape that is as wide as your base ribbon. If your base ribbon is wide enough, you can use Velcro buttons instead.


Velcro has two sides, one that is scratchy with stiff points, the other that is softer with a tangle of threads.
Keeping the two sides pressed together, take the paper backing off of the softer, tangled side. You want this side to be facing towards your skin when the bracelet is closed. Press the adhesive back against the bottom of one end of the bracelet.
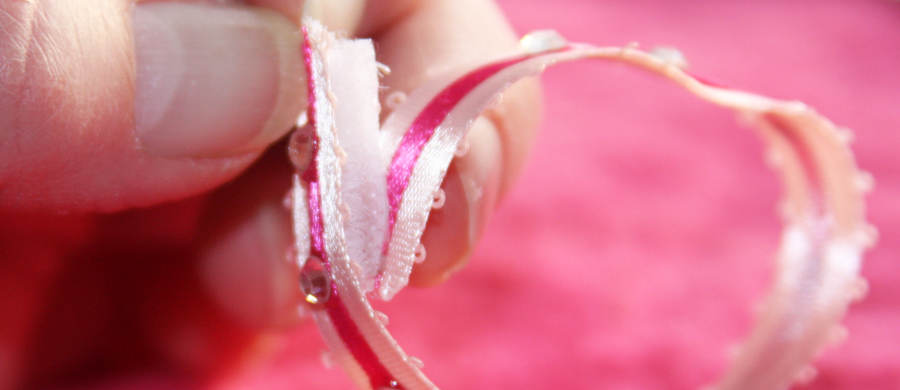

With the Velcro still firmly pressed together, take the paper backing off the scratchy side. Press the scratchy side onto the top of the other end of the bracelet so that it overlaps.
Let the bracelet sit for several hours so that the Velcro's adhesive sets. If the Velcro comes loose, use fabric glue to fix it back in place.
Different Designs for Your Ribbon Bracelet


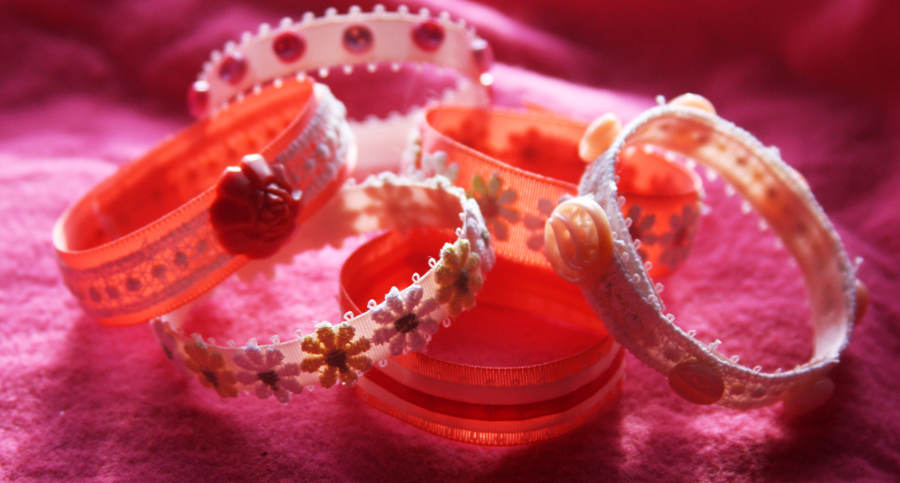
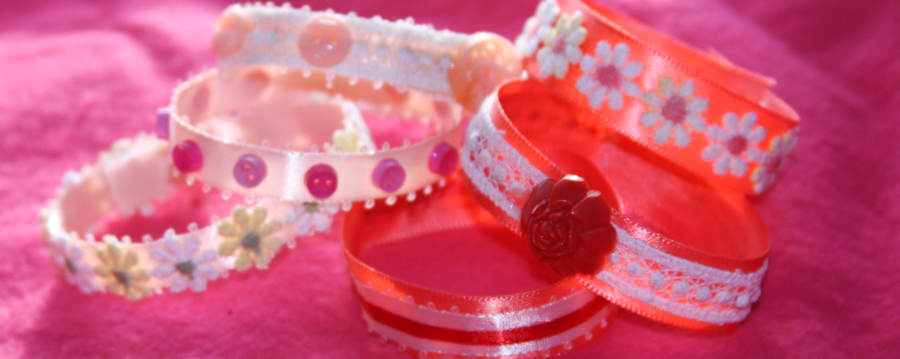
The top bracelet has tiny light pink and magenta scrapbooking buttons glued to the top. The bracelet below it has buttons glued over lace on top of the ribbon.


The top bracelet has vintage daisy lace made with yellow and green thread. For the second bracelet, we turned the lace over and colored the centers of the daisies with a pink Sharpie marker.
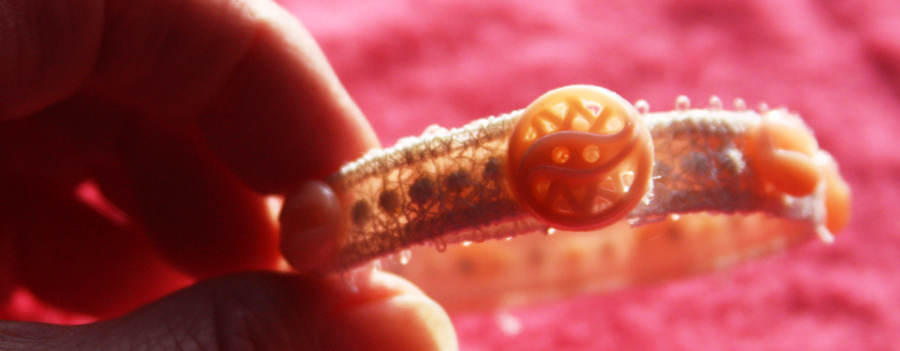

You can glue a larger button over where the two velcro sides join if you want to add more interest.

A Ribbon Collar for Your Cat
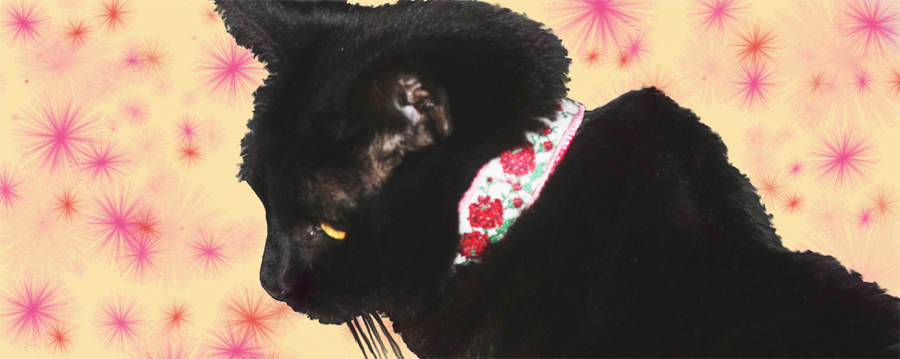

If you have an older cat who will not chew at it, you can make a decorative cat collar the same way you made a bracelet. Use ribbon and lace that is long enough to make a collar that isn't tight. Skip the buttons and gems, because they could become dangerous to your cat if she ate them by mistake.
When you attach the velcro, make sure that the softer, tangled side of the fastener is facing towards you pet's fur. Let the glue dry completely before putting it on your pet.
Thank you to all the writers, bloggers, newsletters and magazines that credit and acknowledge Childrensart.info when you adapt or quote an idea or tutorial from my website.


