Saint Lucia Wreath Crown
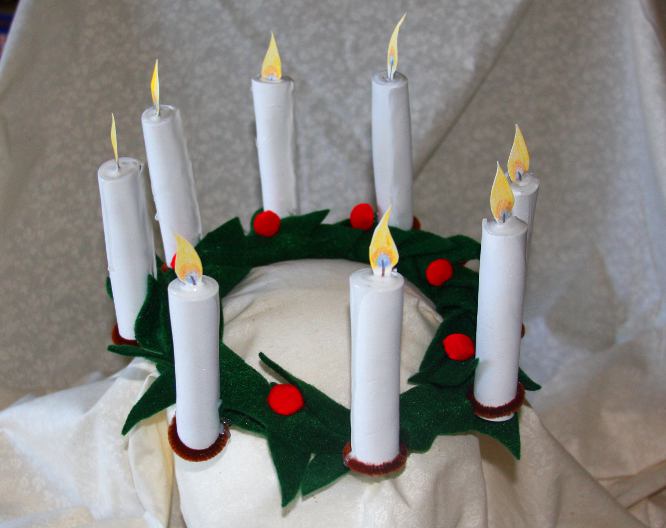

These wreath crowns are a quick and inexpensive craft. Light enough for children to wear on their heads, the wreaths can also be used as table decorations. Please also see our recipe for Saint Lucia Buns.
"Lucia" is the Scandinavian name for "Lucy," which comes from the word for "light." Saint Lucy lived in Italy when it was still dangerous to be a Christian.
One story tells of how Lucy brought food to Christians who were hiding in dark caves. Instead of carrying a torch, Lucy wore a wreath with lighted candles. That way she had two hands free to carry supplies instead of just one.
Eventually the Roman emperor found out that Lucy was Christian, She refused to give up Christianity even after the emperor condemned her to death.
What you will need :
Felt Swatches![]() Two or three sheets of green felt for each crown.
Two or three sheets of green felt for each crown.
Chenille Stems![]() Depending on the size of a child's head, you will need approximately 10 green or brown chenille stems for each crown.
Depending on the size of a child's head, you will need approximately 10 green or brown chenille stems for each crown.
Glue Sticks for Mini Trigger Guns![]()
Creativity Street WonderFoam Pieces and Sheets![]() Depending on the diameter and height of your candles, you will need 1 to 3 sheets of 9" x 12" foam.
Depending on the diameter and height of your candles, you will need 1 to 3 sheets of 9" x 12" foam.
Crayola Short Colored Pencil Set![]()
Heavy piece of scrap paper or cardstock.
Felt Christmas Wreath Crown


Sketch out a leaf shape to use as a pattern. As you cut, try to fit the shapes in as closely as possible so that you get the most leaves out of the felt.
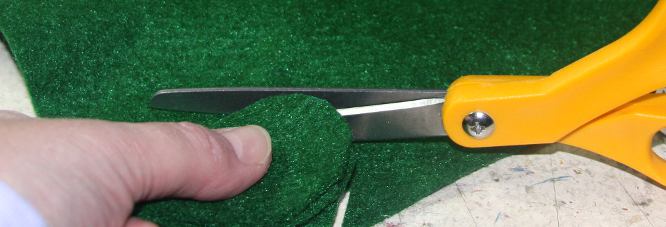

Good, clean scissors cut felt easier than blunt scissors. After you've cut a few leaves, you can use the stacked group as your template.
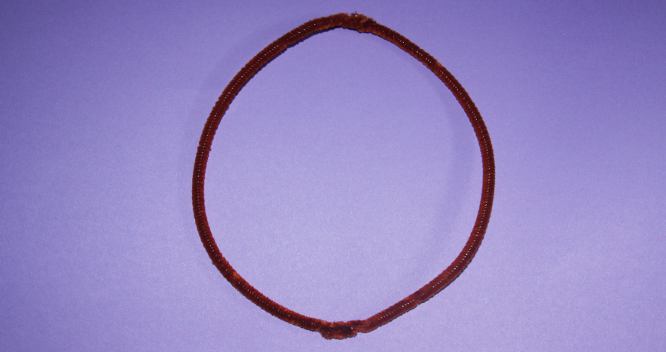

Whenever you are working with chenille stems, it is a good idea to fold each end over itself so that the wires can't scratch little fingers.
Twist the ends of two chenille stems together. Wrap the long chenille around your head to form a circle that will sit above your eyebrows. Twist the remaining two ends together.
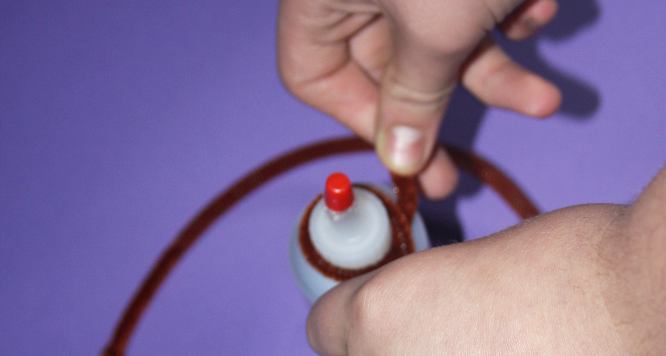

Taking another chenille stem, wrap it about half way down around the cap of the bottle. Twist the ends to make a loop.


Make a second loop on the other half of the chenille stem. Make 8 loops on 4 stems as shown above.
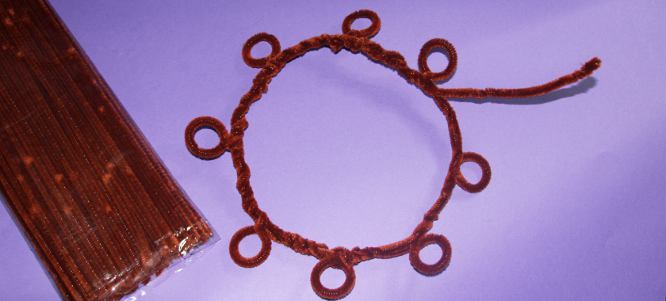

Position the looped stems around the crown. Join the crown and the looped stems together by twisting four more stems around the pieces.


Following safety directions, heat up your glue gun. It's a good idea to keep a bowl of cool water next to your work station. If hot glue gets on your skin, dip the area into cool water immediately so that you don't get a burn.
Put a dab of hot glue on the wider end of a leaf, wrap it around the crown, and press. Work around the loops so that they don't have any leaves stuck on them.
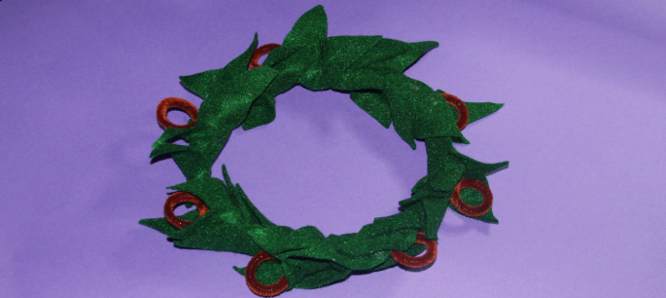

Continue gluing and overlapping the leaves until the crown is covered.
Craft Foam Christmas Candles
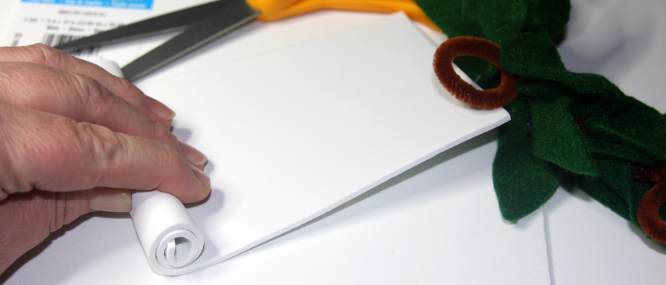

Decide how tall you would like your candles to be and cut a strip that height out of the foam sheet's shorter width.
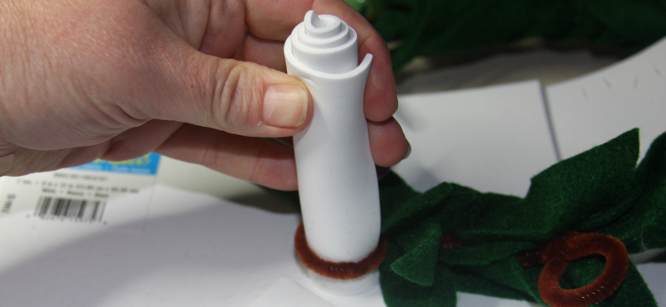

Roll up the strip into a cylinder shape and see how it fits into a chenille loop. You may have to trim off a few inches for the cylinder to fit into the loop properly.
Use the trimmed strip of foam as a pattern to cut seven more matching strips. Set the 8 strips to one side.
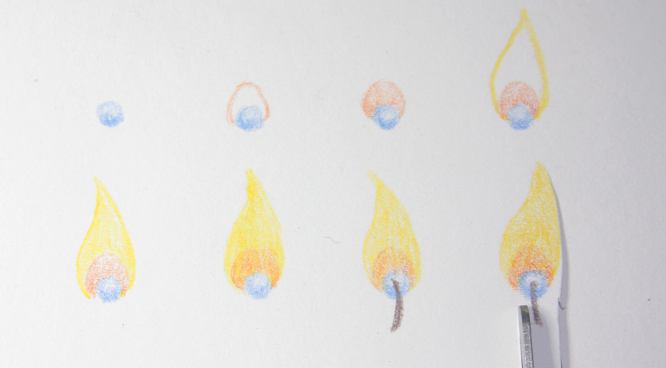

Take out your scrap paper or cardstock and your colored pencils. To draw the flames for our eight candles, we used light blue, yellow orange, golden yellow and brown.
Color in a small circle of blue, with the bottom of the circle a little darker than the top. The blue is the hottest part of the flame.
Next, color in an arch of yellow orange that fits around the top of the blue circle.
Draw in the yellow flame shape that goes around the orange arch. You can color the yellow over the orange section as well, to blend the color, but try to keep the yellow out of the blue circle (otherwise the yellow and the blue will blend to make green!).
Draw a brown wick through the blue circle and down into the white space.
Leaving an inch or so of paper at the bottoms, cut out the flames.
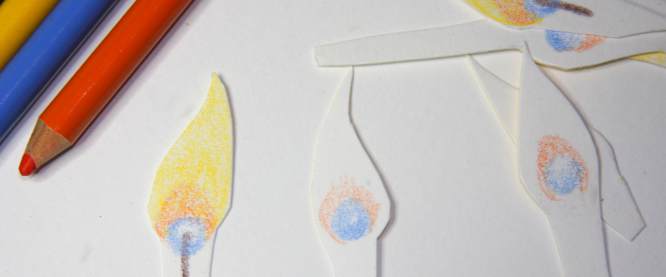

Color the backsides of the flames the same way so that both sides of the paper are decorated.
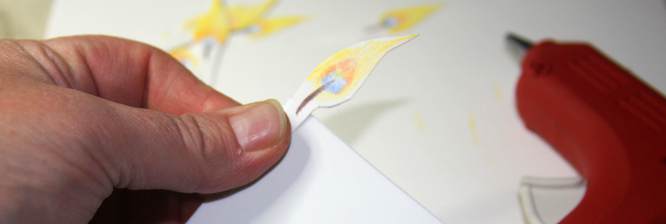

Taking one of the 8 foam strips that you cut out earlier, glue a paper flame onto the right upper corner. The wick should sit along the top edge.


Tightly roll up the foam strip so that the paper flame is in the center. Glue the foam's edge and hold in place until the glue sets.
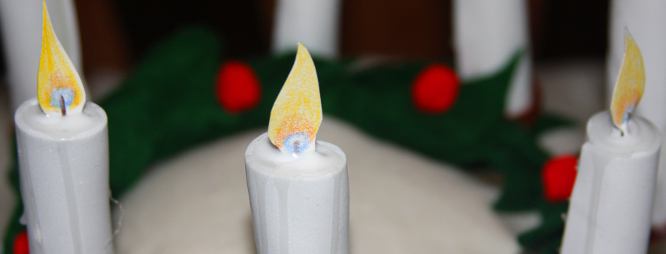

When you insert the finished candles into their loops, you may want to add a dab of glue to hold them more securely.
If you would like, you can make it look as if wax is dripping down the sides of the candle Squeeze enough Tacky glue over the top of the candle so that some runs down the candle. Let the glue dry overnight.
If desired, glue red pompoms around the wreath to represent holly berries.


