Holiday Foil Garlands


The foil used for these garlands is easily cut by even the youngest children. After cutting out the circles, kids can draw designs into the soft foil
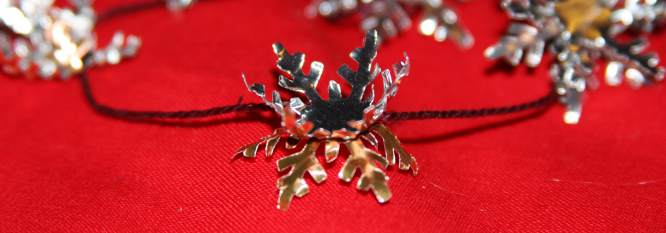

Older children might like making garlands with a squeeze punch. These delicate garlands may need extra care when storing them away for next Christmas!
What you will need :
comes in variety packs and rolls. If you plan to make several garlands, or make garlands in a group, it would be more affordable to buy a few in different colors. Even if you choose to work with just one roll of craft foil, you will have two colors to work with: the foil is silver colored on one side and red, gold, blue, green, or copper on the other.
Scissors
Spool of thread or a bottle cap to trace around
. We recommend DMC brand because it doesn't tangle as much as some other brands.
Bamboo skewer, toothpick, knitting needle, or dry pen for embossing foil.
Squeeze punch from or . We used a snowflake punch for our demonstration, but these punches come in other Christmas designs as well.
Cardboard to protect your working surface.
Easy Embossed Foil Garland


Trace around your spool or bottle cap to make circles. Fit the circles close enough together so that you don't waste foil, but far enough apart so that you have room to cut around the shapes.
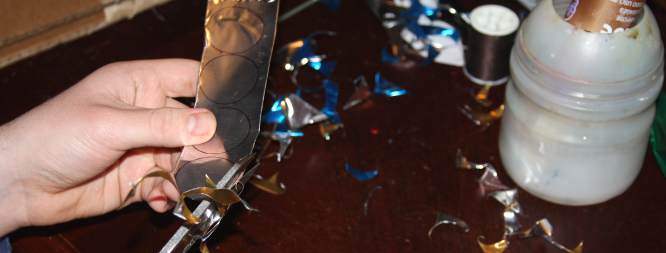

. For our garland, we cut out approximately 80 circles.
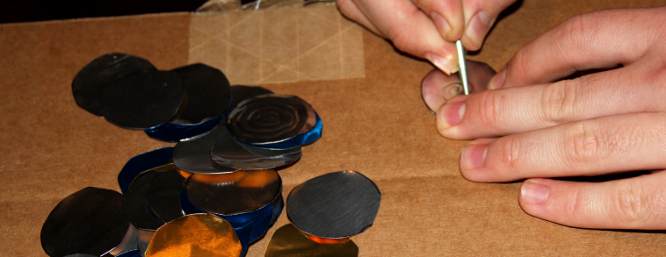

Move your foil circles onto the cardboard. Use a toothpick or dried-up pen to draw designs into the surface of the foil circles. The cardboard protects your working area, but it also helps your drawing tool push deeper into the foil.
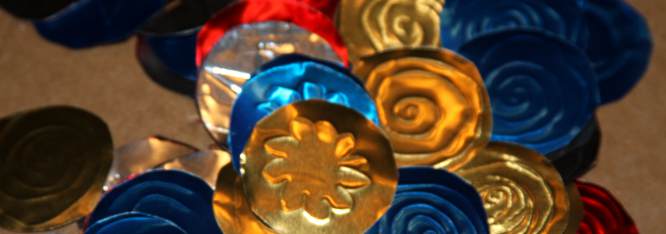

The raised design you made in the foil is called embossing.
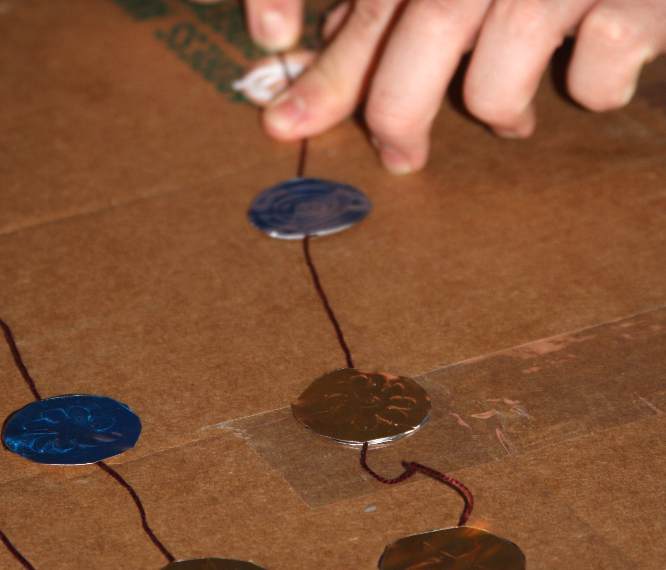

Cut a long length (at least 9 or 10 feet) of embroidery floss. Place a foil circle so that the raised design is facing down. Squeeze glue onto the side facing up. Place the embroidery floss in the center of the circle. Put another foil circle on top, so that the embroidery floss is sandwiched between the circles.
Make another foil circle sandwich a few inches down the floss. Keep gluing circles until you've used them all up. Let the garland dry before hanging it.
Squeeze Punch Foil Garland
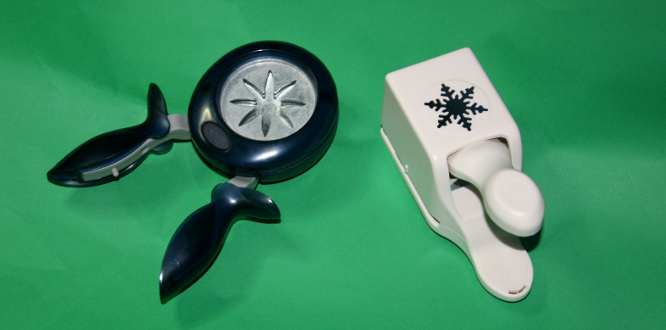

Cutting out the designs with squeeze punches is quicker, but the delicate foil shapes need to be handled a bit more carefully.


You can use the punch's back opening to line up where to cut your designs on the foil.


Trim the punched foil for other Christmas crafts, or slip them in the envelopes with your Christmas cards.


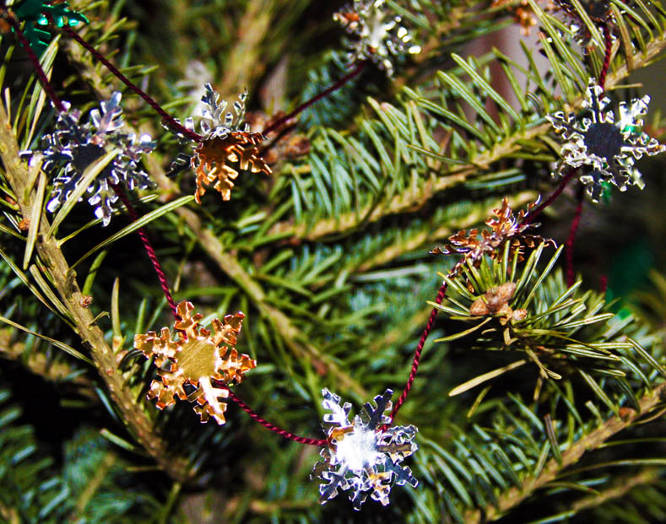
The perimeter of the punched foil comes out at an angle. If you don't press the cut-out flat, you can give your garland a three dimensional feel.


Cut a long length (at least 9 or 10 feet) of embroidery floss. Squeeze a bit of glue on the raised back of a foil snowflake and center the embroidery floss over the middle. Place a second snowflake cut-out on top, so that the embroidery floss is sandwiched between the cut-outs
Position more snowflakes every few inches along the floss. Let the garland dry before hanging it.
