Vintage Bunny Rabbit Wheeled Toy
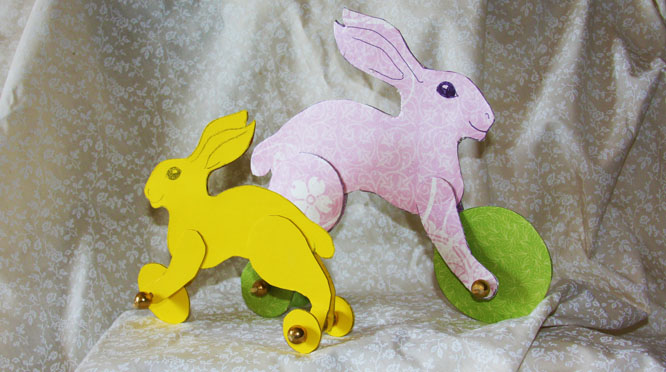

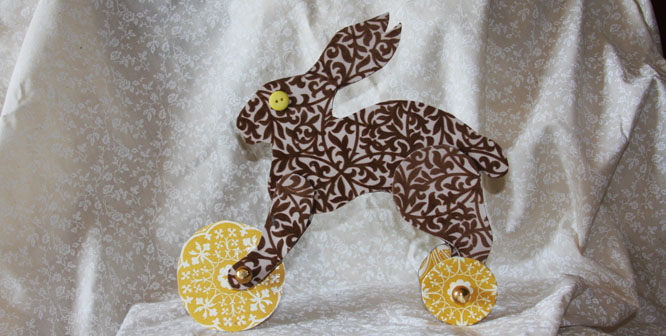
When I was a child growing up in Maine, I once saw a bunny pull toy in an antique store. The toy was designed like a tricycle with two wheels in back and a large wheel in front. But the bunny had a special little trick. The hole for the axle in the front wheel was off-center. So when the bunny moved forward, his front legs rolled up and down, as if he were lopping.
The original toy was made out of wood, but our version uses recycled cereal boxes. Our bunny is too light to be pulled along by a string. It works best being when its wheels move over something that gives friction, such as a piece of cloth or a rug.
Plan to help younger children with cutting and punching through the cardboard, and especially with handling the bamboo skewers safely.
What you will need :
Empty cereal or cracker box that has been taken apart at the seams.
For the axles, a wood dowel that is 1/16" in diameter or a bamboo skewer with the sharp point removed.
Nine large, smooth beads with holes large enough to slide over the axles.
that makes a hole the same diameter as the dowel
Sandpaper, if needed
Wire cutters, if desired
or
Printed Bunny Template Pattern
Waxed paper to keep work area clean
Cutting out the Bunny Toy

Print out our Bunny Template onto colored cardstock. Trim out one of the bunny head/torso pieces and put it to one side.
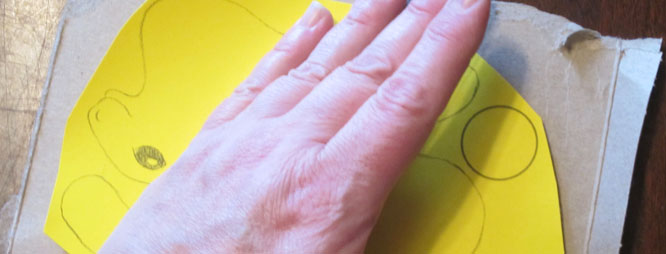
Take the remaining printout with the other pieces and use a glue stick to cover the back of the sheet. Put the glued side onto a piece of cereal box cardboard and rub firmly until the whole sheet is glued down.
Cut the second bunny head/torso off of the section you glued to the cardboard. Put it to one side with the other bunny head/torso.
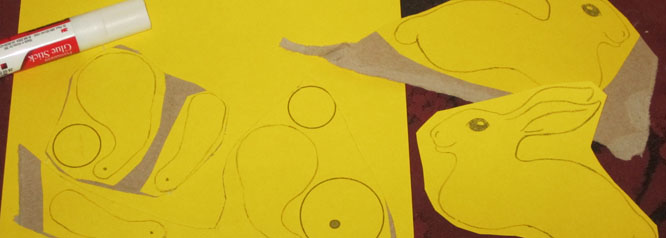

Glue the cardboard side of the bunny's legs and wheels to a second sheet of colored cardstock. These pieces should now have cardstock glued to each side.
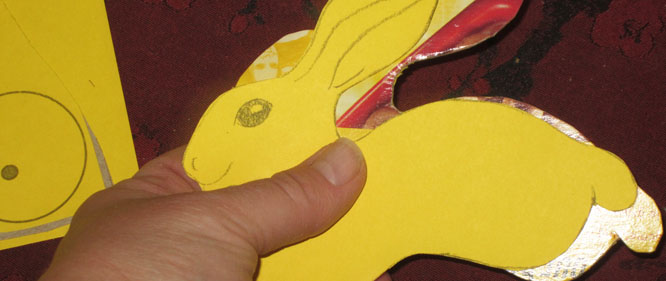

Trim each of the bunny head/torso pieces. Glue the back of the cardboard side, line up the bunny's edges, and smooth flat.


Cut out the bunny's legs and the three wheels. Punch holes in the centers of the two small wheels. Punch a hole off-center in the largest wheel.
Assembling the Bunny Toy
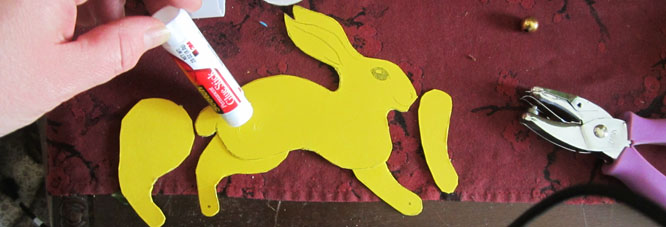

Glue the front leg and back leg to one side of the bunny's torso. Turn over the bunny and glue on the remaining legs so that they line up.
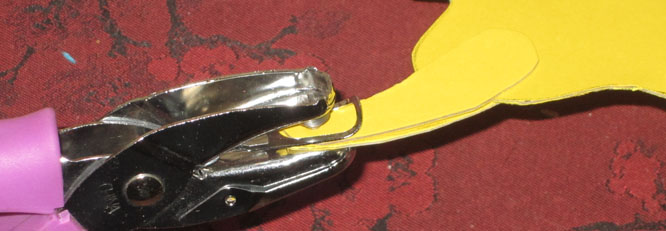

Punch a hole into the center of one foot. Punch a hole in the paired foot so that the holes line up.
Punch matching holes into the other set of legs.


To make it easier to assemble the wheels, pinch the tops of the legs where they are glued to the torso. Gently bend the legs a bit out at an angle so there will be room for the beads.


Make sure the dowel or bamboo skewer you will be using for an axle fits through a bead. Sand down the axle if the fit is too tight.
Put together the back wheels first.
Push a bead onto the axle, then a small wheel, then another bead. Line up the axle through the first foot. Put a third bead between the feet and push the axle through the second foot. Finish the axle with another bead, the second wheel, and the fifth bead.
Trim off the wood dowel (we used wire cutters) so that there is an inch on either side of the beads. Put a dollop of glue at each end to hold the beads in place.


Assemble the front wheel of the bunny the same way. Push the axle through a bead and then through one of the front feet. Add a bead, the off-centered wheel, and another bead. Push the axle through the second foot and finish off with another bead. Put a dollop of glue at each end to hold the beads in place.
Let the glue dry before trimming off the ends of the axles.
Flocked Rabbit Toy
You can use decorative scrapbooking papers to change the look of the bunny toy. We made a bunny out of flocked scrapbooking paper that we bought from the dollar store..
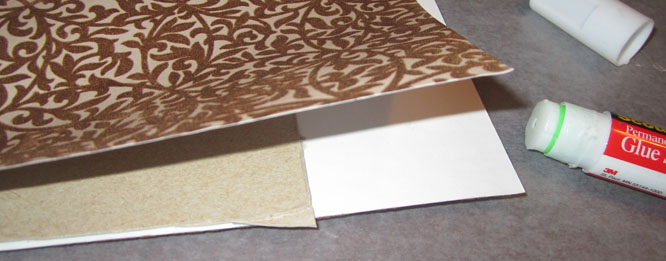

First, we glued flocked paper to each side of a piece of cereal box cardboard.
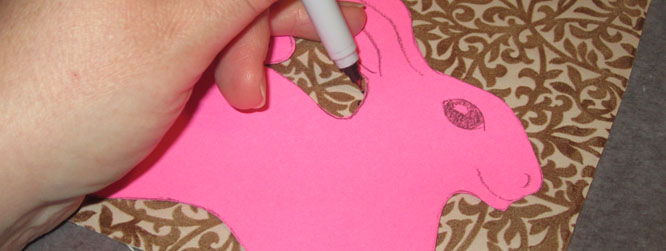

We enlarged the pattern and cut out the bunny's head/torso, one front leg and one back leg. We used the pieces to trace the torso, two front legs, and two back legs.
We made the wheels out of a different sheet of scrapbooking paper.
After assembling the bunny following the same directions as above, we glued button eyes onto her face.
