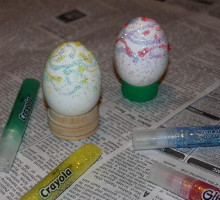
Glaze Gel Pen Easter Eggs


When I first used these gel pens, they reminded me of the intense colors of Ukranian pysanka. Pysanka are eggs decorated by a thought- and skill-intensive method of wax-resist and repeated dying.
After several tries at copying traditional pysanka patterns, I accepted the fact that these pens were going to follow their own path. The nibs of the gel pens leave thicker lines than seen in pysanka. But the glossy inks also have a few tricks of their own!
What you will need :
are very glossy, dry quickly, and leave a bit of a raised surface. Sakura makes several kinds of gel pens, but the Glaze variety work well on eggs, and are permanent. If you use a different kind of Sakura gel pen, or a different brand, try them out before embarking on this project.
Clean and blown-out eggs,. You could also try or from your local crafts shop.
Small elastics, if desired.
Pencil, if desired.
Drawing Guidelines onto an Egg


To divide the egg's surface into sections, stretch a small elastic band around the egg's middle. Lightly trace along the elastic band.
Stretch the rubber band from each end of the egg and draw another line. You can use the intersection of the two lines to evenly divide your design further.


If you want to draw a cross design, wrap one elastic band around the middle of the egg and another from end to end. Lightly draw in lines about 1/4" away from the elastic bands.
Try to draw your lines as lightly as possible. You can erase the lines later, but some erasers leave a residue that repels the gel pen ink.
Drawing in color with Glaze Gel Pens
Let the gel pens glide along the surface of the egg. You can add dots by gently tapping. You know what will happen if you press too hard!
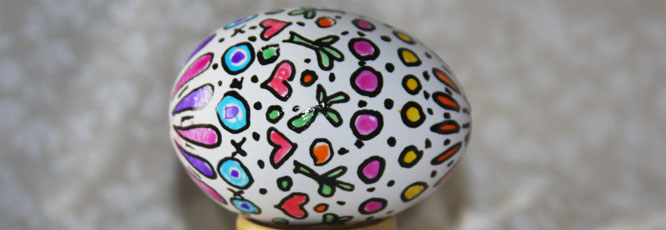

For simple designs, draw in the shapes with black ink. Allow the ink to dry for 10 minutes before filling in with other colors.
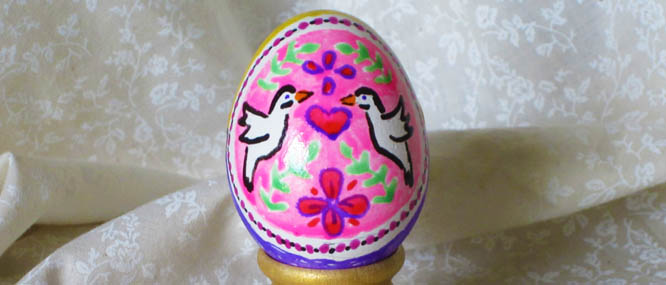

If you are using transparent gel pens, you can draw colors on top of each other. In the egg above, we overlapped different pinks to make the heart and flower different colors. Again, we allowed the ink to dry before adding layers.
If you make a mistake, try to wipe away the ink quickly. If the ink has started to dry, you may be able to dissolve it with a cotton tipped swap dipped in rubbing alcohol. Handle rubbing alcohol with extra care, and always supervise young children!
Wet-in-wet technique with Glaze Gel Pens


If you don't let colors dry between layers, they will float together to look like watercolors. Use the lighter color first, to keep the pen's ink cleaner. For our rose design egg, we put yellow ink down and then put a few dots of orange into the yellow. The colors bled together to make a whole range of yellow to orange.
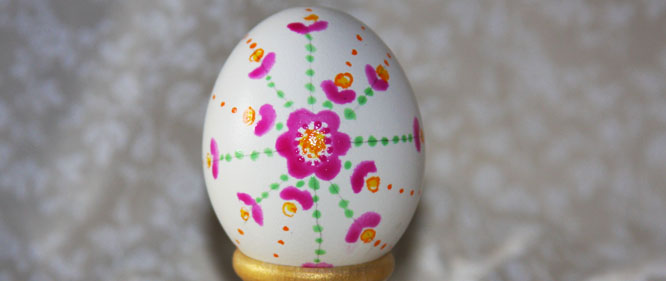

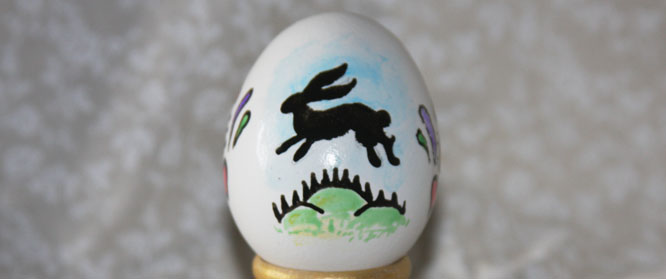

Our set of gel pens included a pen with clear ink. We used the clear ink to dilute blue ink so that the sky looked as if it had been painted with watercolor.


We worked in small sections so that the ink wouldn't dry too quickly. First, we drew on a coating of the clear ink.
Then we immediately drew in a few dots of the blue ink.


We picked up the clear pen again and pushed around the color until it was diluted into a soft blue.
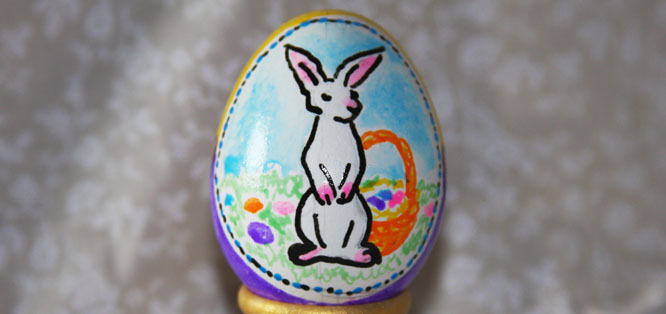

The gel pens left a glossy finish that made the eggs look as if they had been varnished.


